
I wanted it to be something relatively portable and light so I could move it around if needed. And I didn't want to spend a fortune on it so after a quick trip to Home Depot I settled on some very inexpensive and super light foam insulation. I decided to use two pieces, the thought being that I could hide one behind the other when I am working on smaller projects and I could bring out the second panel and stand them side by side when I am playing around with the larger ones.
The insulation panels ended up being a little too tall for the space but they were easy to cut down. Then I simply used spray adhesive and stretched plain white flannel over each panel and Walla! Instant design walls! Now all I need to do is get rid of the cumbersome, old filing cabinet in the garage so I'm able to actually put both panels side by side.
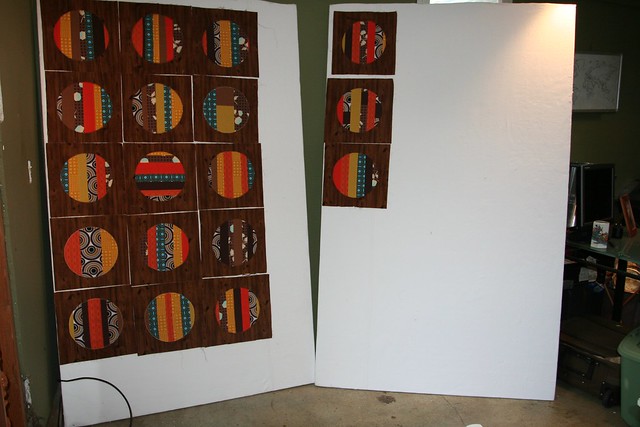
Finally, I am able to get my wonderful and amazing fiance's quilt blocks up on the wall so I can start playing with the layout and I'll be piecing the quilt top together very soon. Thanks to all the lovely people in the Sewn Together Bee who helped me make these blocks. They're looking so good thanks to all of your hard work. It's starting to come together!
Oh great idea! I want to get a design wall and that's a great idea to make it portable.
ReplyDeleteyour fiance's quilt looks great! I really want a second design wall so I can set them up beside each other for big projects.
ReplyDeleteGreat idea!
ReplyDeleteThis is awesome! I love the idea.
ReplyDelete