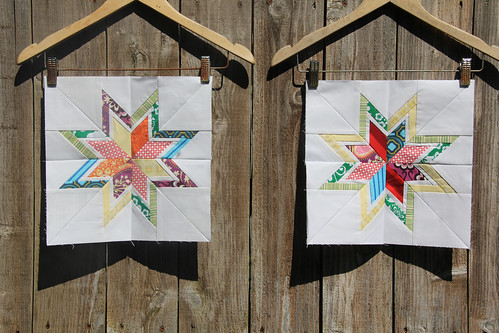
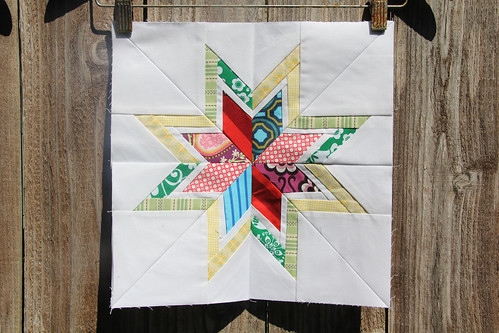
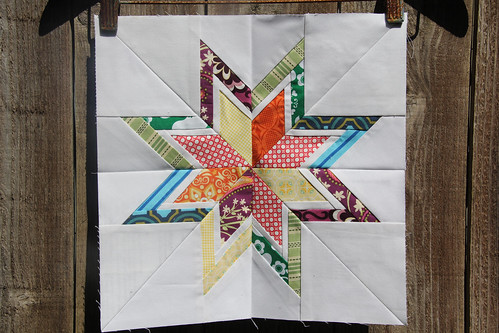
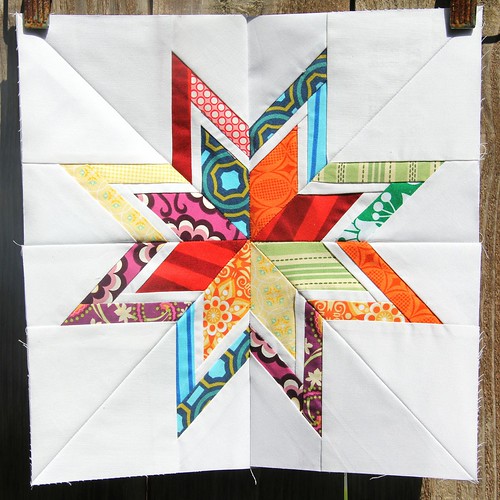
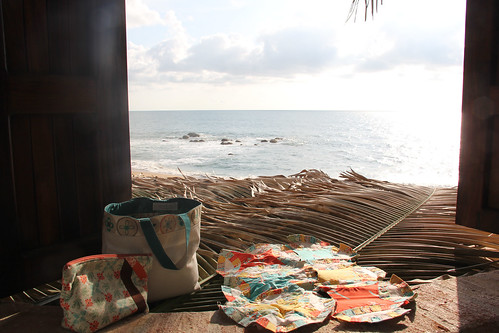
Selvedge String Block Tutorial

Materials:
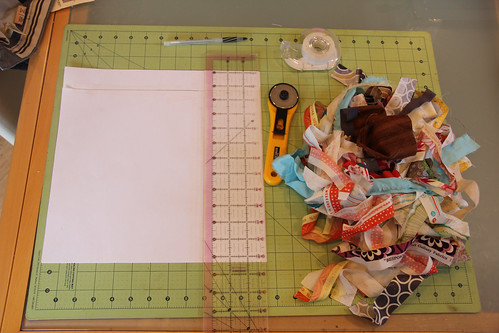
Paper
Tape
Rotary Cutter
Cutting Mat
Pen
Selvedges (in a variety of lengths from 13" and shorter)
Sewing Machine (duh!)
Coordinating Thread
Iron
Step 1:
First, you need to create your template. I'm asking for 12.5" (unfinished) blocks so I need to first create a 12.5" square template. I'm using plain white printer paper for my foundation. You can also use thinner stock paper, but you want it heavy enough to told it's shape. Since standard letter sized paper is only 8.5" x 11" you will need four pieces to create your template. Tape the four pieces together to create one large piece. Then, using your cutting mat, ruler and rotary cutter, measure out a 12.5" square and trim. Since standard printer paper has sharp, straight edges I use that to my advantage and shore it up against two perpendicular lines on my cutting mat and measure out 12.5" from each straight edge so I'm essentially only making two cuts.
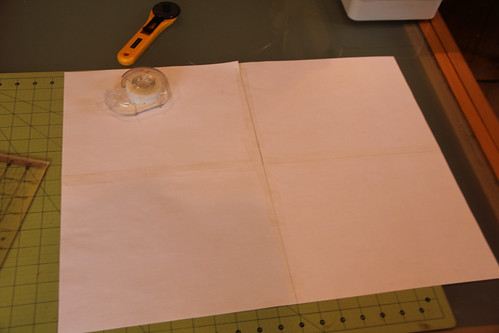
Step 2:
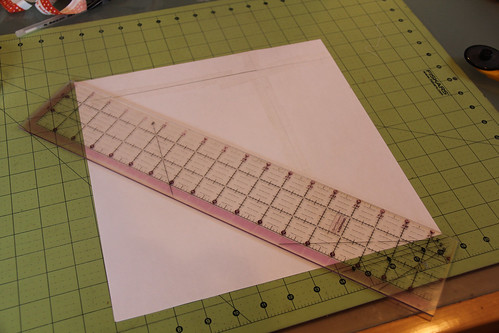
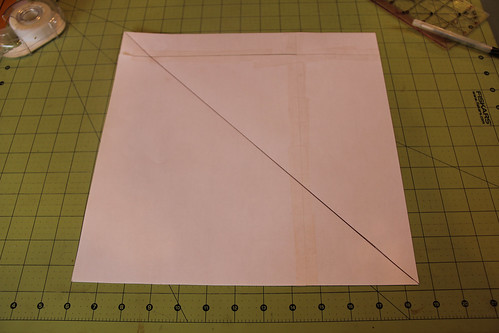
Using your ruler measure a straight line diagonally across your template from corner to corner. If your cutting mat has lines on the angle, you can use these to your advantage to measure out your line. If you don't, it's not a problem. You can easily eyeball from corner to corner. Take your pen and draw a line straight through the center of your template.
Step 3:
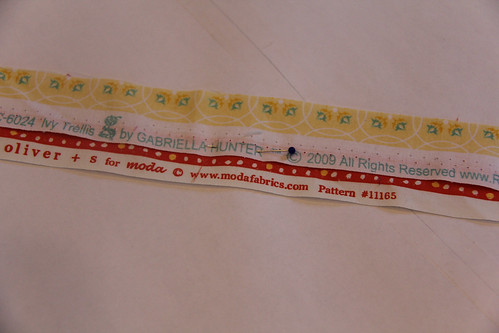
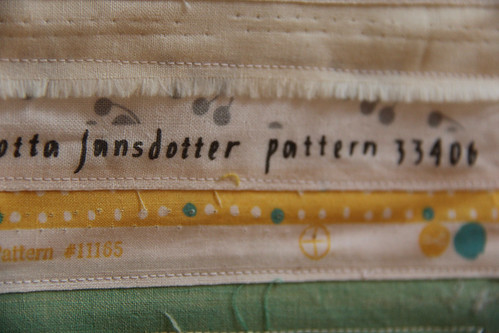
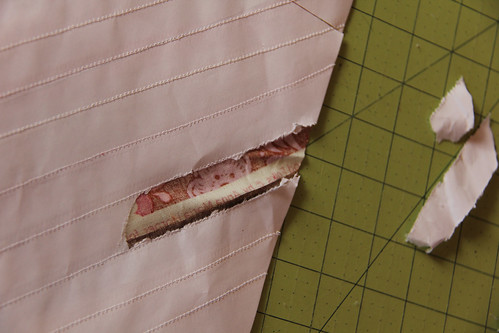
Choose your first selvedge. But wait, I'm going to stop here for a moment and talk about working with selvedges for a second, if you don't mind. How much of the selvedge you retain when cutting off from you main fabric is entirely up to you. It comes down to just how much of the mother fabric (I just made that up. I don't know what else to call it.) you would like to peek through in your project. Some people don't want any of it at all and cut close to where the selvedge meets the main fabric. I, personally, am looking at this as a little memory book. It's a reminder of all the fabrics I've worked with over the years, and I like a little of the original fabric to show through, so I cut my selvedge edges a little fat. I also keep them a little long.
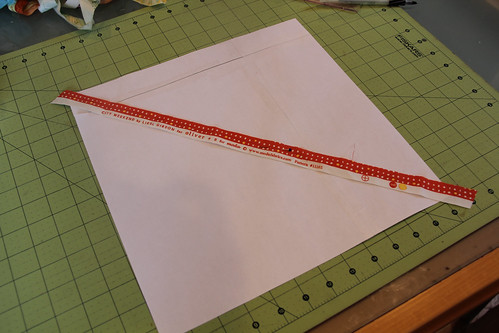
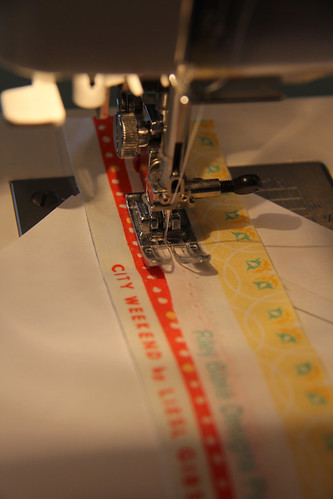
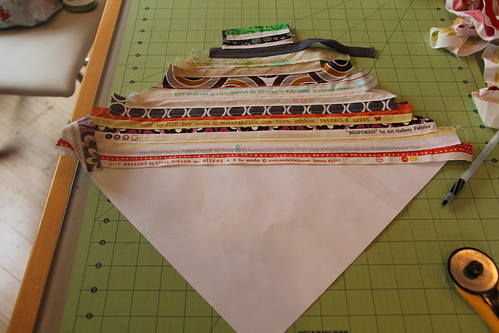
Choose your first selvedge. You'll need to start with a longer one, at least 13", than can traverse your template with a little overhand at each end. Lay the first selvedge over the center line and pin in place. Choose your next selvedge. This should be another long one. Lay it directly on top of the first selvedge (right side of the first selvedge to the wrong side of the second), leaving some of the "mother fabric" exposed BUT (and this is the tricky part) covering enough of that mother fabric so it will stay securely under the top selvedge when sewn. Please keep in mind, selvedges don't always lay as flat as regular fabric because they tend to be a little bulkier, so keep your stitches slow and steady to help smooth out any bubbles along the way.
Using the thread color of your choice (be aware that your thread will show!) stitch a straight line as close to the selvedge edge as you can possibly get. Remember to make sure there is enough of the first selvedge underneath so it stays securely in place and the raw edge doesn't slip out from underneath. This is the trickiest part. Especially if you're working with narrower selvedges. Stitch from one end of the template to the other, just like you would an ordinary string block except the seam is exposed and there is no pressing or ironing.
Using the thread color of your choice (be aware that your thread will show!) stitch a straight line as close to the selvedge edge as you can possibly get. Remember to make sure there is enough of the first selvedge underneath so it stays securely in place and the raw edge doesn't slip out from underneath. This is the trickiest part. Especially if you're working with narrower selvedges. Stitch from one end of the template to the other, just like you would an ordinary string block except the seam is exposed and there is no pressing or ironing.
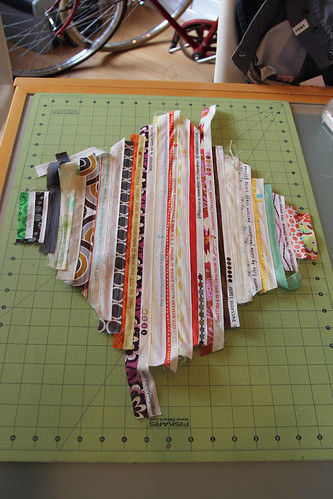
Repeat this process until you get to the corner of your block. Your selvedge lengths will get shorter and shorter as you progress down the template to the corner. Once you reach the corner, make sure you have a selvage with enough "mother fabric" width to cover the entire corner.
Step 5:
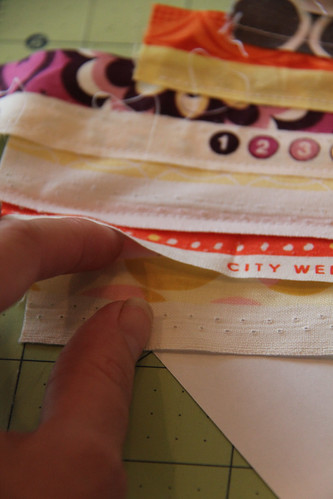
It's time to do the other side of your block. This works a little differently than the first side. Select a long selvedge and this time you're going to slip it under the first (center) selvedge. You still want to make sure there is enough of the bottom selvedge under the top one so you don't have any holes in your block. Edge stitch in the same manner as before, staying as close to the selvedge edge as possible.
Step 6:
Repeat this process of slipping the selvedges under all the way to the next corner. Once you reach the corner, as before, make sure your last selvedge is wide enough to cover the entire corner.
Step 7:
Press your block. After you stand back and admire all of your hard work, of course. This is the only time you'll actually be using your iron during this whole process. And you don't even have to iron if you don't want to. I just like to for good measure.
Step 8:
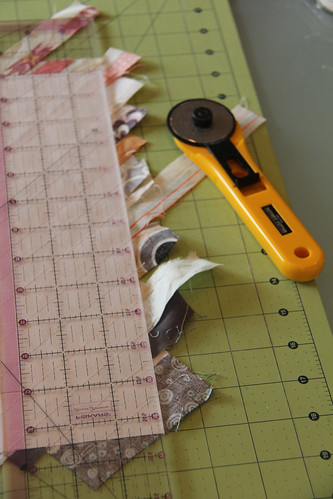
Flip your block over so the paper foundation side is facing up. Using your rotary cutter and ruler, trim your block. Line up your ruler with the edge of your paper template and trim one side. Repeat to trim the remaining three sides.
Step 9:
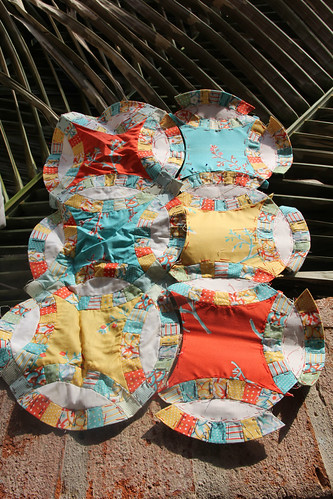
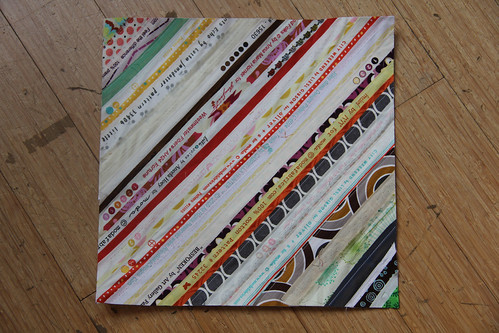
Carefully remove the paper template from the back of your block. Then flip your block over and smile. You've just completed a Selvedge String Block!
Notes on the block:
Remember, you can easily make these blocks any size you want. The size of your foundation template dictates the six of your (unfinished) block. So if you want an 8.5" block, create a 8.5" square paper template.
Part of the fun of working with selvedges is exploring how you can use them creatively. Like texture like I do? Then don't be afraid to work with slightly frayed selvedges like you find on Kona Solids or Japanese linens. Like to play with words? Fussy cut the selvedge edges with texts. Want to keep it simple? Try making a block using only the selvedge edges from the non-texted side. The list goes on.
Play with thread! Since your seams will be exposed play with using different thread colors as you work.
Have other creative ideas? Let's hear 'em!