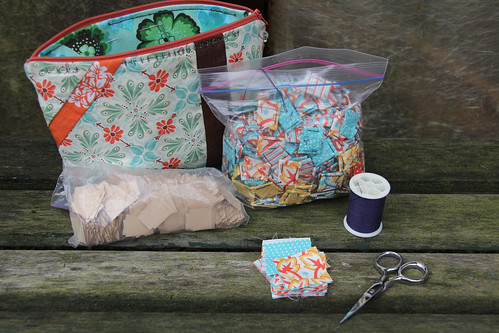
Little Stitches Week 14 - Pattern R - Cuddle Kitty Toy
Slowly, but surely, I am making my way through the book. I know I way being way ambitious trying to do one project a week, especially with my busy work schedule. But the good news is: I'm over halfway through completing all the projects and I still have friends making babies. They just don't seem to stop reproducing! Work has been hectic again, and has put a damper on my sewing time, last weekend I helped throw a baby shower for a very close friend of mine and even though I was on the planning committee, I could't come empty handed. So I decided to make something simple for her.
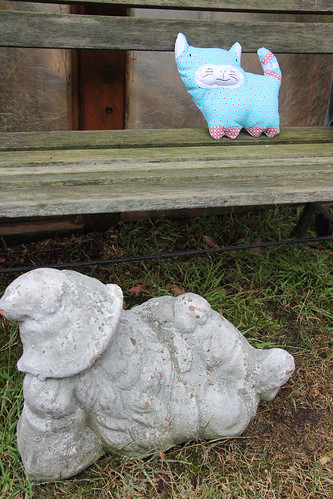
Pattern R - Cuddle Kitty Toy - Difficulty Level: 2
I met Nancy (and her husband Steven) at a Halloween party six years ago. I had just started dating my husband and we were in the phase where we started introducing each other to our friends. Nancy and I met and we clicked immediately. It was one of those moments where you know you're going to be friends. And here we are, six years later. I married that boy and Nancy and Steven are having a girl. Life keeps moving on. Nancy is an extremely talented wardrobe stylist for commercials, who hates to sew. Funny, right? I've actually been teaching her how to make her first quilt so I opted to make something small for her little girl instead. And the Kitty Toy seemed perfect. Since I've been helping her with the quilt I wanted to pick out complementary colors for the Kitty Toy and red and aqua were the perfect choices. They still feel feminine without being over-the-top girly.
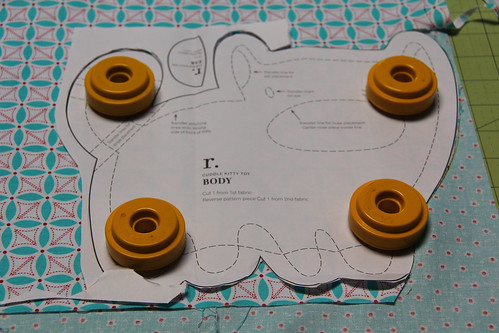
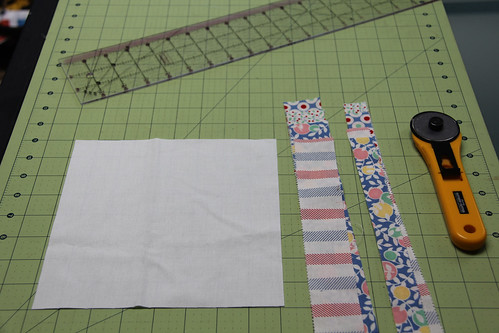
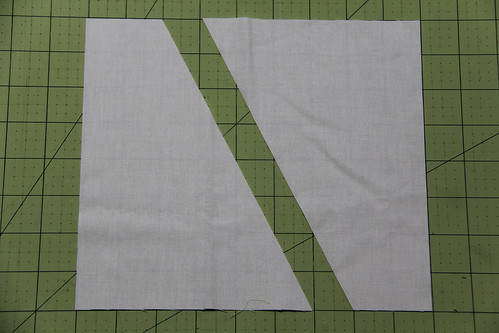
I'll openly admit my first mistake. I got all excited and wanted to save time so I laid my main panel and backing fabric out together to cut them at the same time. Only, I laid them directly on top of each other with both fronts facing up and started cutting. I was about a 1/4 of the way through cutting when I realized my mistake. Um, yeah. You need to reverse the backing fabric so when cutting both fabrics together (which does save time) you need to lay one facing up and the other facing down so the wrong sides of your two fabrics are together. Um hum. Just call me the queen of stupid mistakes.
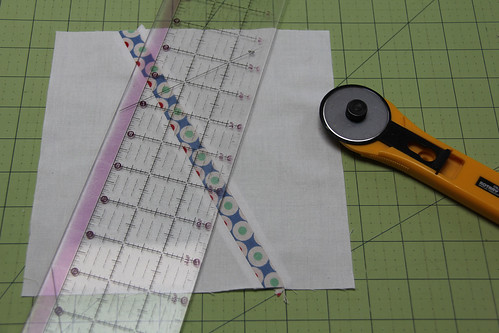
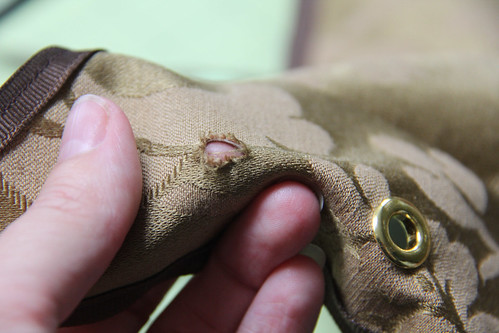
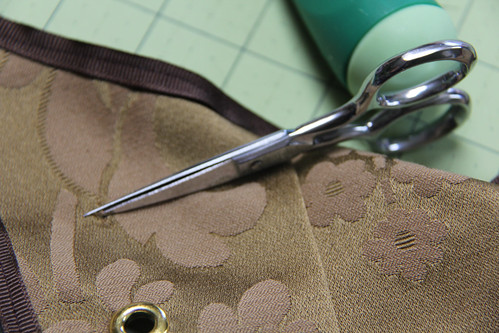
Realizing my mistake I flipped the bottom fabric over and cut them again. This pattern is easy BUT you're working with a lot of curves. Cutting curves can be challenging, so I recommend making sure your rotary blade is extra sharp. Put a new one in if you can. The sharper the blade, the easier it will move around the curves. Also, have a sharp pair of scissors on hand. These will come in super handy for snipping into those corners and you may find yourself using them to help snip trickier portions of the curved pattern. But just remember that you want the fabric for the front side of your cat facing up and the back side of your cat facing down, otherwise you'll end up with a reverse cat, like mine. Oops, again!
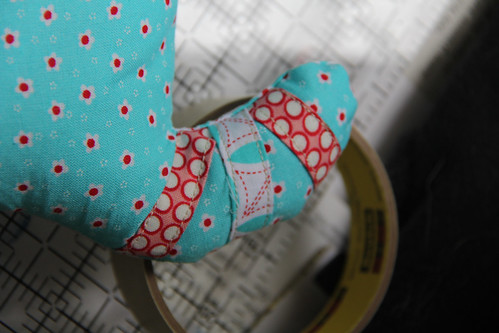
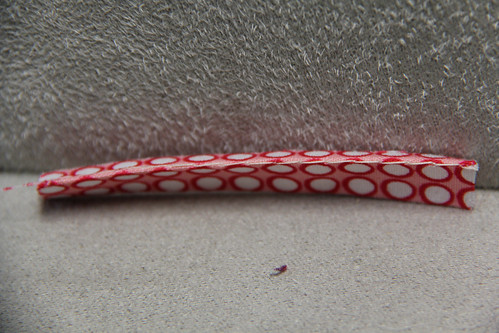
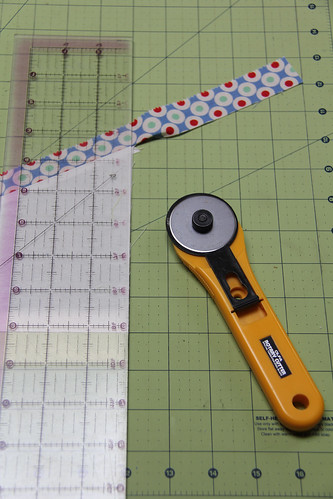
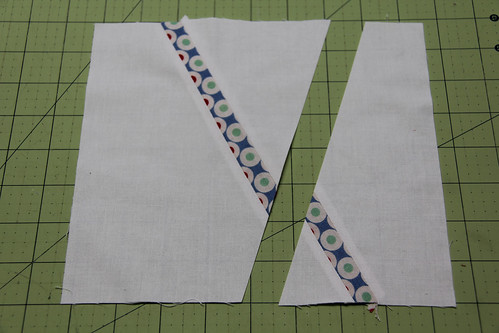
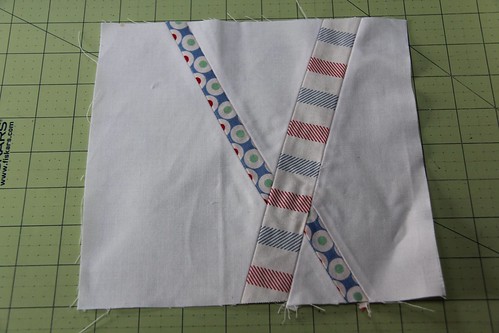
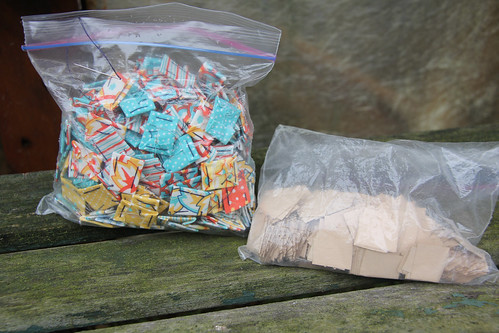
I did reach another little stumbling block with the stripes on the tail. The pattern says to cut more than needed, so I am assuming that the spare stripes go on the back of the cat but I didn't read that step in the instructions and you can't really ever see the back of the cat in the pictures so I couldn't tell if she wanted me to put stripes on the back of the tail as well. So I only put them on the front and ended up with extra stripes that went into my scrap bin.
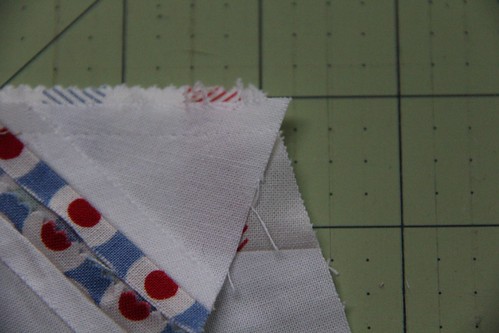
But I do have a little TIP for any of you as anal as I am. It does add an extra step, but not much time. If you're diligent about making the 1/4" folds on your stripe pieces but are having trouble eyeballing them, I suggest doing a 1/4" basting stitch (using your 1/4" foot if you have one) and then ironing along that as a guideline. Then you can easily pull the basting stitches out after you've ironed.
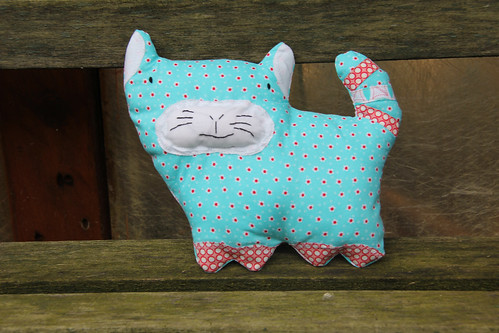
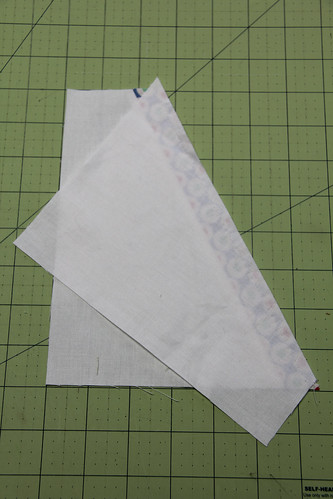
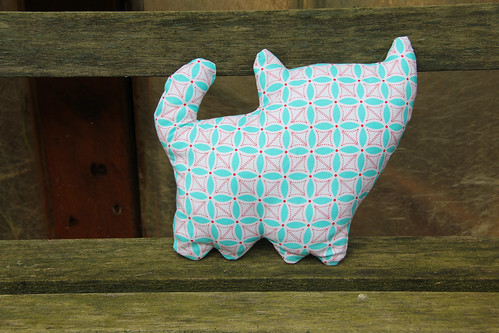
Since you are working with a lot of curves, clipping into your seam allowances (but not into your seams) is the key to making your kitty look curvy when you turn her outside out. The use a turning tool to help get those small curves precise and also the stuffing up in there good.
This is one of those projects that comes together quickly and easily. I think from start to finish it took me an hour, two tops. And it makes a cute little baby gift.
So what are you working on? Link up your latest projects here and show everyone what you're making. You can share your projects in any start from start to finish and join in the sew-along at any time. I'll keep the linky party open all week. Remember, you can also share your "Little Stitches" projects anytime in the Undercover Crafter Sew-Along Group on Flickr. See you next week - if work hasn't killed me. Just kidding!