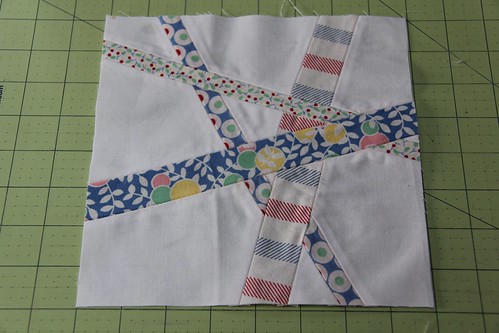
Shattered Glass Block
Finished: 8"
*1/4" Seams used throughout*
Materials:
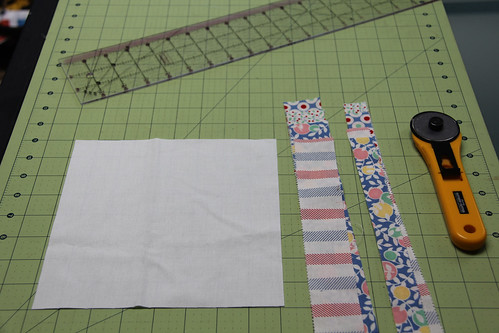
8.5" square of background fabric
Several fabric strips measuring between 9 - 12" long and 1 - 2.5" wide
Cutting Mat
Rotary Cutter
Ruler
Step One:
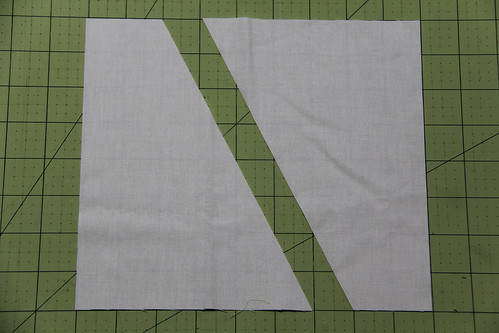
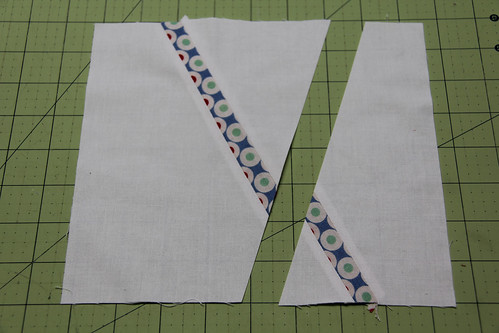
Place the 8.5" square of background fabric on your cutting mat. Place your ruler at an angle across the entire block, and slice it in half.
Choose one of your fabric strips and line it up with one of the edges you just cut, making sure the strip hangs over at least 1/4" at each end. Sew these together then press. (I prefer to press my seams open.)
Step Two:
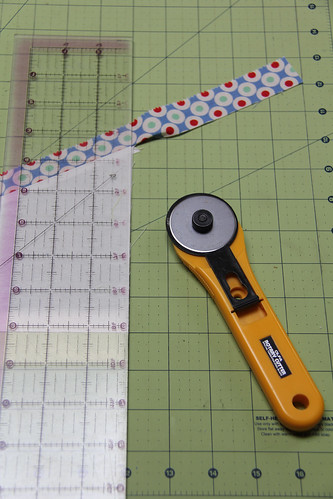
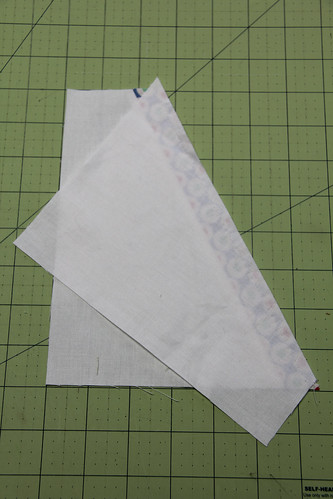
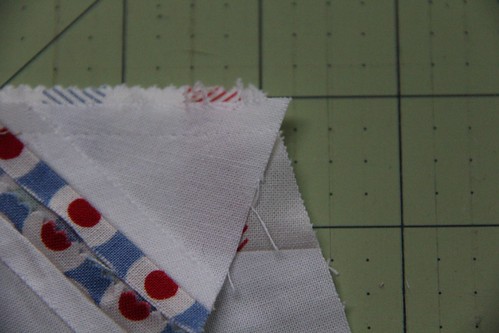
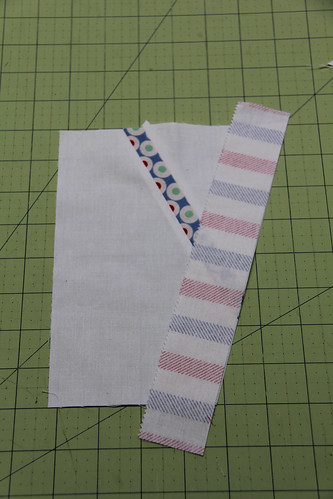
Match up the remaining piece of background fabric with the strip you just sewed. Make sure you are placing the cut edge (from step one) to the edge of the strip. Since we're working with angles here you need to shift your background fabric up 1/4". It's going to look and feel off, but trust me, it will square up after you sew and press.
I use my cutting mat to help measure the 1/4" adjustment like so:
Sew together then open and press. (*Tip: If your unfamiliar or uncomfortable with sewing at odd angles you can "cheat" until you gain some confidence. Try sewing your first seam using a basting stitch to check if your angles are lining up. Then you can always re-sew using your regular stitch length if all looks good. Basting stitches are mush easier to rip out if you need to.)
Step Three:
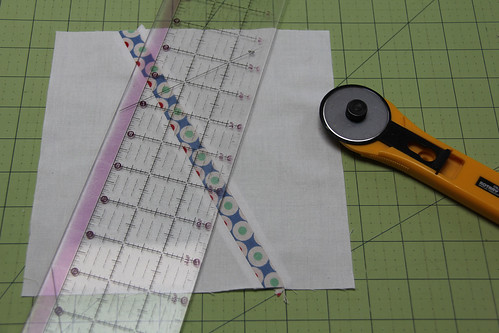
Place your ruler across your block at another odd angle of your choice, crossing the block the other way and cut with your rotary cutter.
Chose another strip and repeat steps One and Two.
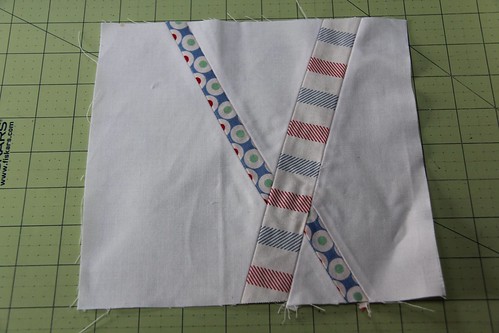
Your strips will be a little off but that's the beauty of this block. Think about shattered glass, it doesn't line up perfectly.
Repeat the process as many times as you like to create the shattered effect. When you're satisfied square up your block to 8.5" and you're done. It's that easy!
If you would like to create a larger or smaller block, just adjust the size of your background fabric. For a 12" finished block start with a 12.5" background square. For a 6" finishes block start with a 6.5" background square and so on. Also adjust the length (not width) of your strips. You will need longer strips for a bigger block: 12.5 - 15" long for a 12" block.
I hope you enjoyed this block. Make sure you hop on over to Quilt Jane and check out her awesome blog and all the other amazing blocks in the Desperate Housewife's Quilt. And if you end up making and Shattered Glass blocks I'd love to see them! Be sure to share them in my Flickr group so everyone can see your beautiful work!





Cool idea!
ReplyDeleteLove this!
ReplyDelete