Pattern K - "Changing Pad" - Difficulty Level: 4
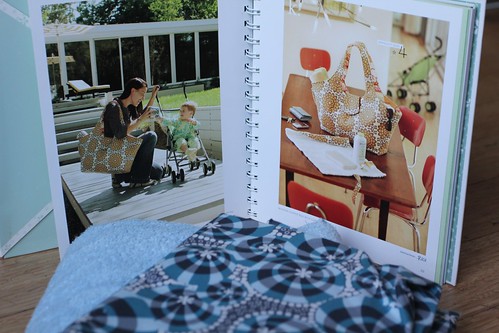
For this one I pulled out my favorite print from AMH's new Loulouthi line. There was some serious swooning going on when I saw this line up close and personal at Sew Modern and the Buoyancy print from the Juliana Palette really knocked my socks off. This pattern also calls for terrycloth so I picked some up in a coordinating blue especially for this project. This was the one that almost didn't make it. I always had the intention of making this changing pad for Kerry to coordinate with the diaper bag I am making her but time started running out and it was almost scrapped. So I have to apologize for the pictures of this project overall.
This project is fairly straightforward and I honestly made it in one morning as I was about to fly out to Chicago, but since becoming a quilter there were a couple things that would seem completely normal to a sewer but counterintuitive to a quilter. My intention was to follow the pattern as dictated so I did - for the most part anyway. You're working with double batting layers, coupled with your fabrics and any quilter will tell you that batting can be slippery. I mean, one of the first lessons you're taught as a quilter is about basting, right? So this book is written for sewers so the part about basting your quilt sandwich is rightfully omitted. Frankly, it's a small enough project that pin basting with safety pins isn't all that necessary but I did have some sufficient slippage the first time I attempted machine basting my fabric to the batting. It resulted in some stitch ripping and only a moderate amount of cursing (it was early and the hubby was still sleeping). But in all seriousness I found that simply changing the angle of my pins worked wonders.
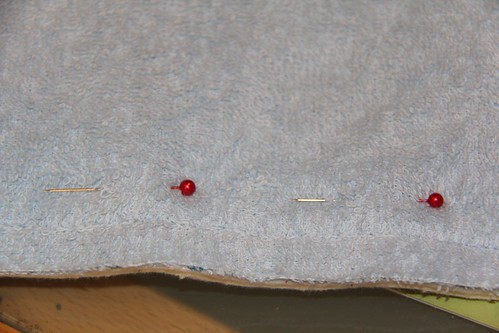
(This is how I usually pin on a straight edge.)
Usually when I'm working with a straight seam I rarely or minimally pin. When I do use straight pins to secure fabric on a straight seam I'm usually lazy and pin horizontal to the edge of the fabric. This is why I was experiencing some slipping when I was basting. The second time around I took care and pinned horizontal to the fabric edge and did a generous amount of pinning. This helped considerably and I didn't have any trouble basting the second time around.
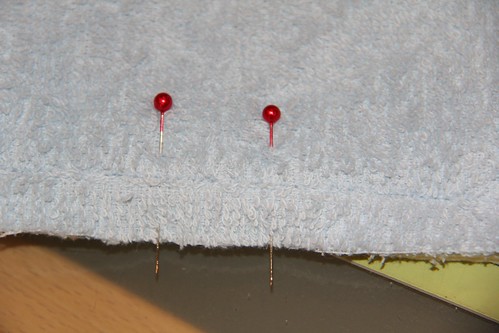
(Pinning this way works better on this project to prevent slippage.)
Now the pattern doesn't call for the use of a walking foot but here is where I diverged from the plan. I (of course being a quilter) had a walking foot handy so I opted to use it for this project. I am sure that you can be successful without it. This was just a personal preference for me.
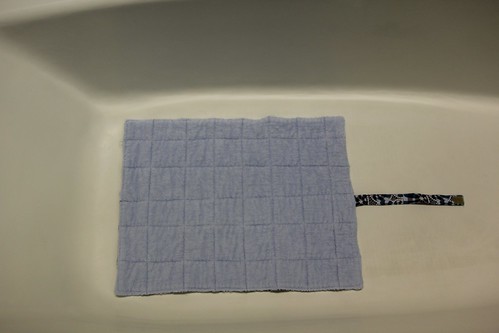
(Yes, I'm not proud. Took this shot in the bathtub in my hotel room in Chicago.)
The only other tiny snag I caught along the way was when it came to the straight-line quilting. It only happened twice (once stitching width-wise and once stitching length-wise) and there is an easy solution. Since you're sewing through so many layer you might find a tiny bit of fabric bunching as you're nearing the edge. If this starts to happen I suggest stopping before you hit the top stitching seam along the edge. Pull out your needle and flip the pad around then match up the quilting line from the other side and back stitch when the two lines meet. It completely eliminated the bunching for me. I hope that makes sense. I am sorry I don't have pictures to show you what I mean visually. Again, I was in a hurry with this project. If you come across this problem and need help let me know and hopefully I can explain it better.
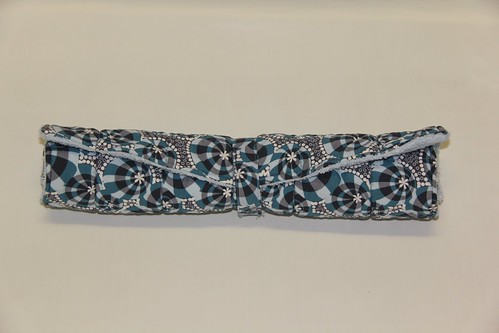
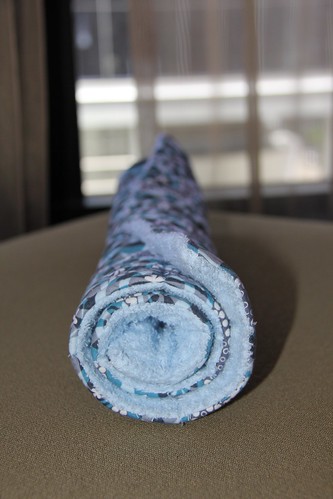
(This one's in the bathtub too but looks better.)
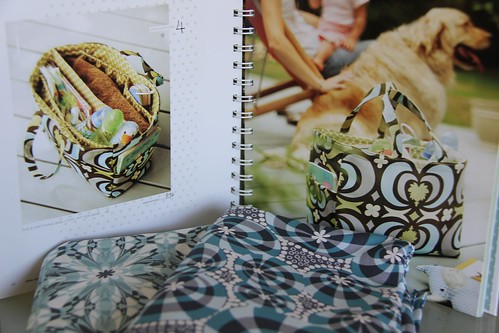
One last note. I had another blonde moment when I was making the strap. I left both ends raw and forgot to finish one end. To rectify this I just top stitched along the exposed raw edge and trimmed as close to the stitch line as possible. But I implore you not to make the same dumb mistake I did. Aside from that this pattern was super simple and I honestly made it in a matter of two hours before I rushed off to the airport. It's so quick and easy I even considered whipping up a second one for another friend but she's not due until October so I refrained myself. And I made it to coordinate with The Everything Bag (Pattern J), which happens to be the project I'm showcasing next week!
So what are you working on? Link up your projects (in whatever state they're in) and show us what you're making from the book. If you're linking up stop by and see what everyone else is working on so we can all help each other out and give each other props. And remember, you can also share your "Little Stitches" Sew-Along projects anytime on the Undercover Crafter Flickr group found here. See you next week!
Make sure the surface is flat, with necessary safety features like a raised lip or strap to hold baby in before you lay the changing pad down.
ReplyDelete