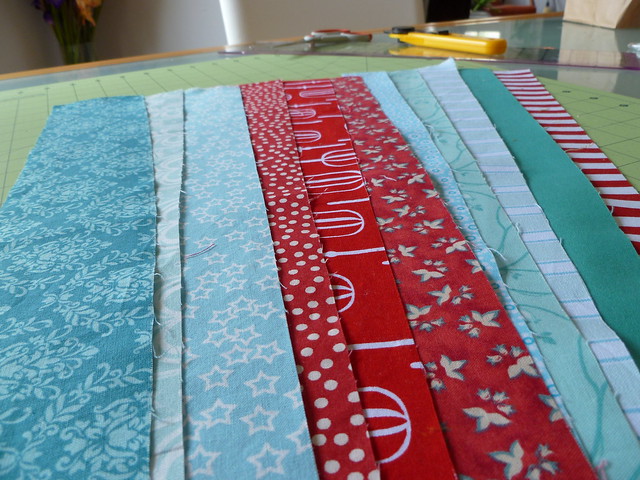
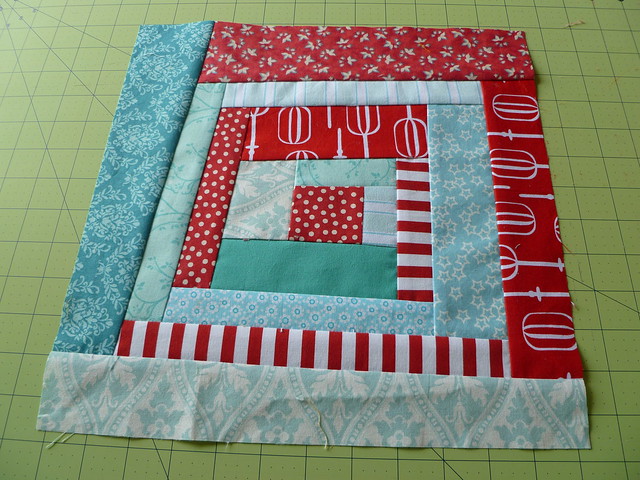
In the mad dash to get my blocks done before I went back to work I finished up two Wonky Log Cabins for Donna in the Red & Aqua 2 Bee.
She wanted a slight wonk and I hope I delivered for her. The first block need to be all her own fabric because she is combining these blocks with blocks from another bee that she is in to create her finished quilt.
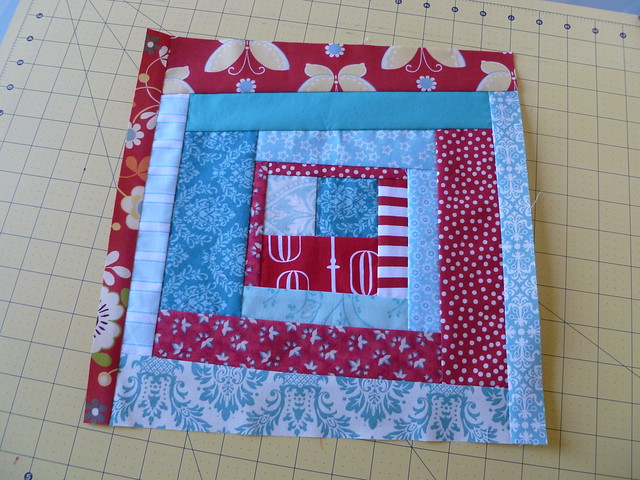
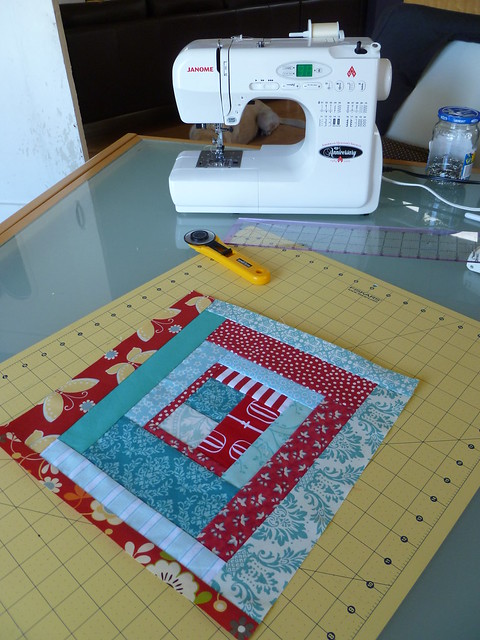
She said if we felt so inclined we could make a second block for her and we could incorporate our own fabrics into this one. I ended up running out of fabrics when I got to the outer edge so I added fabric from my own stash. I must admit, I have lots of aqua in my personal stash but unfortunately no red at the moment so a quick run to the fabric store was in order. (Like I need an excuse!) I could have sent it back with all aqua on the outside but I think it needed some red. And, yes, I could have sent it back to her unfinished, but what's the fun in that?
I was so determined to get red fabric to finish the block that I didn't even realize until I was looking at the pictures of the finished block much later that I ended up adding one extra (unnecessary) strip of red. And here I was wondering, as I cut it down, why I was cutting so much off one side. Silly me! I still like the way it turned out.
I must say, I have now made several wonky log cabins now but the tutorial Donna sent along taught me something new and I wish I had known it when I made the Laker's Log Cabin for Sorrel. Thankfully I am a habitual reader. I'm the type of person who will read the manual to the vacuum cleaner if it's lying about, so I scanned the tutorial Donna sent along even though I thought I already knew "how" to make a wonky log cabin. And I do! But reading the tutorial I learned to use 3" strips for the last layer so when you cut the block down to size you don't end up cutting to the seam or end up with super thin layers. Awesome!


Very cute beaters! Where are they from? I love the red and aqua too as you saw. Thanks for visiting my blog.
ReplyDelete