Tuesday, January 31, 2012

Speed Sewing for Charity

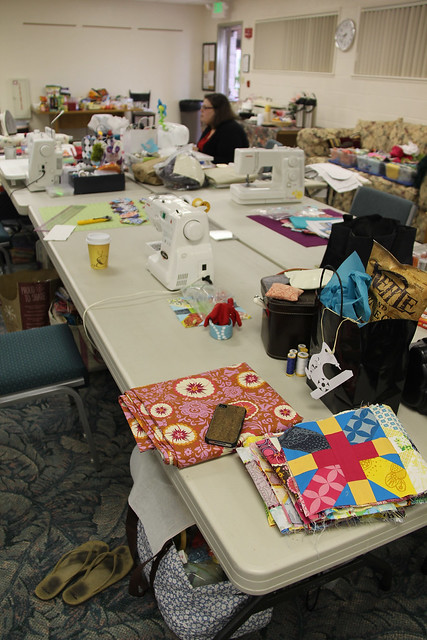
One of the unexpected joys of the quilting retreat this past weekend included making a charity quilt. Liberty mentioned the prospect of doing a scrap swap at the retreat and encouraged anyone who wanted to participate to bring a few quart-sized bags full of scraps. Me, being one who has trouble throwing anything away, has more than enough scraps hoarded away to share so I filled up three bags and brought them along.

IMG_7510
Carrie making her block.

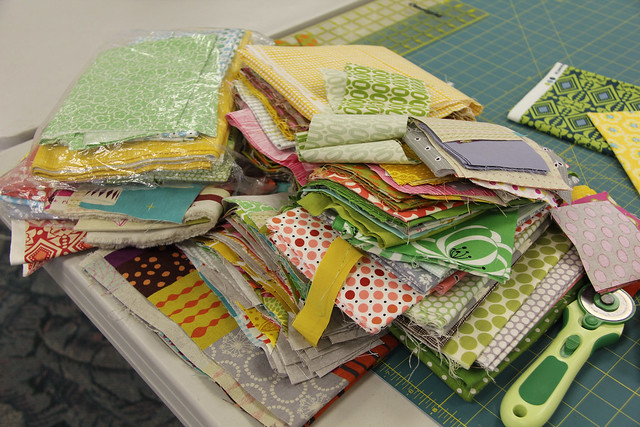
Over the course of the weekend, however, the scraps made their way out of their ziplocs and into a huge scraptacular pile in a corner of our classroom. Liberty then had the bright idea to turn our swap into a speed sew for charity instead. Anyone who knows me that sewing for charity is a particular passion of mine so I was 100% on board with this idea! We decided to tackle this project after dinner on Saturday night, thinking that it would create a natural break in our momentum and be easy for everyone to start a new project without interrupting any creative flow.

IMG_7498

IMG_7497
IMG_7496
IMG_7495
IMG_7494
IMG_7504
IMG_7503
IMG_7502
IMG_7500
IMG_7499

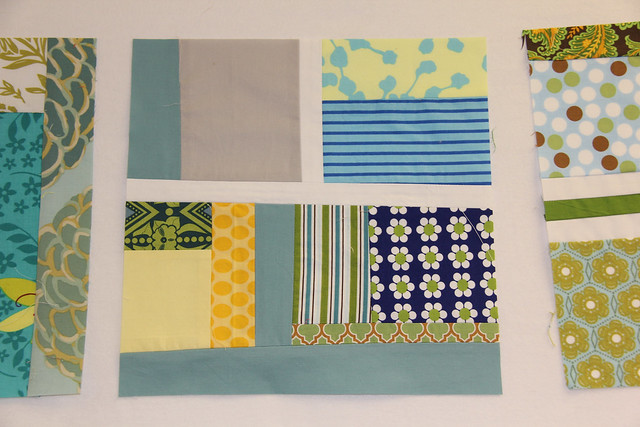
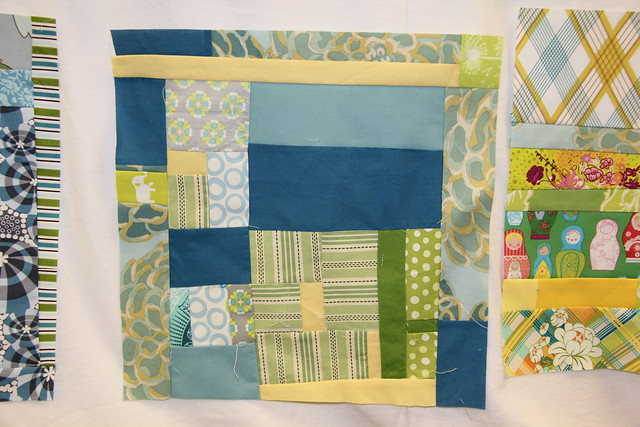
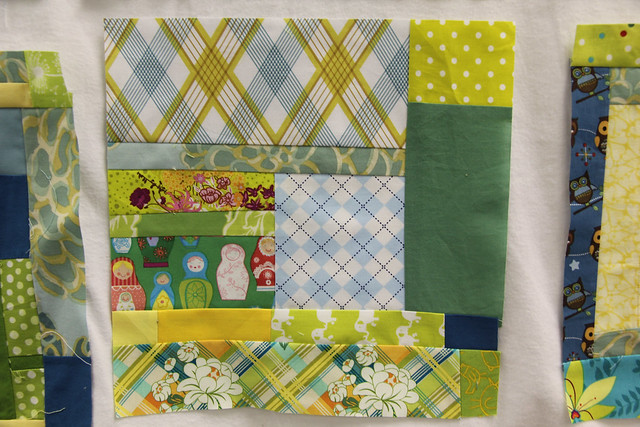
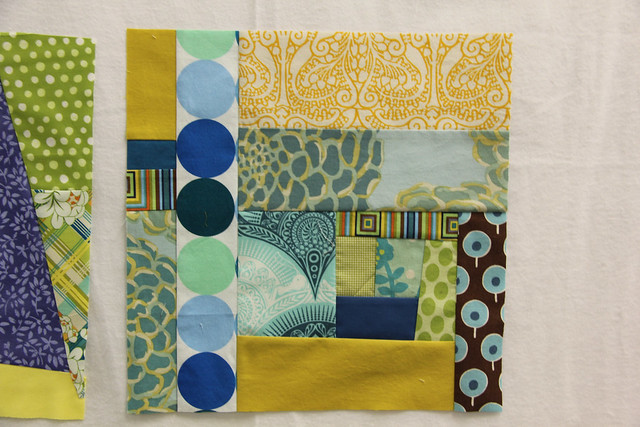
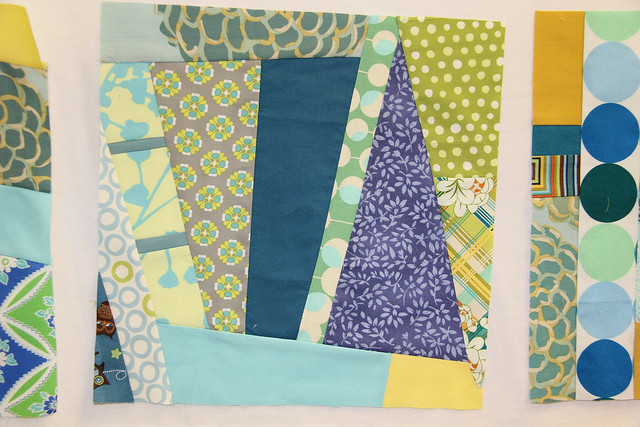
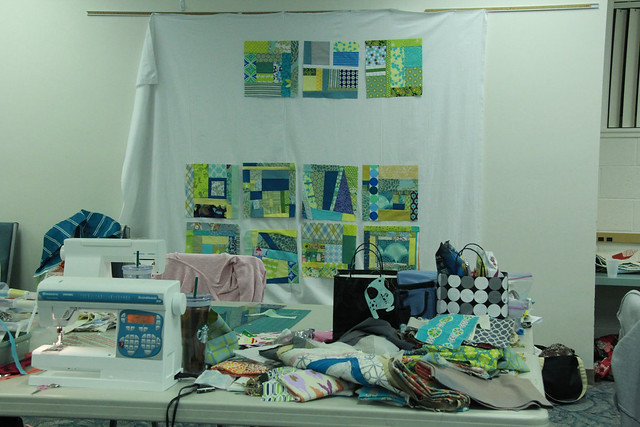
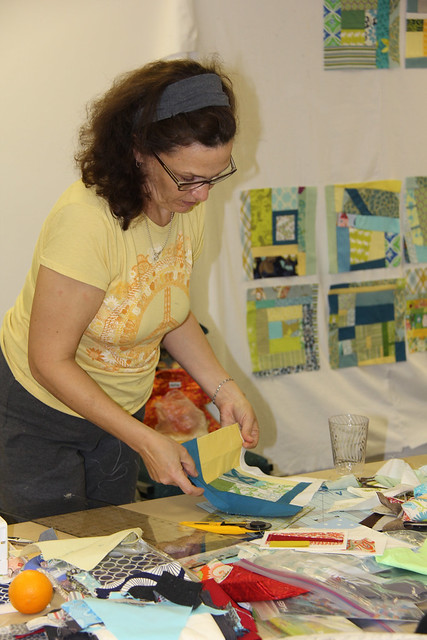
Liberty and a few others took the time to gather similar colored scraps into one pile on a cutting table. This theme turned out to lean toward green - my favorite color. Once we were all back in the room, fully sated from dinner, Liberty started the clock. We all had just 30 minutes to blindly grab a handful of scraps from the pile and create one block, unfinished at 12.5", for the quilt.

IMG_7501
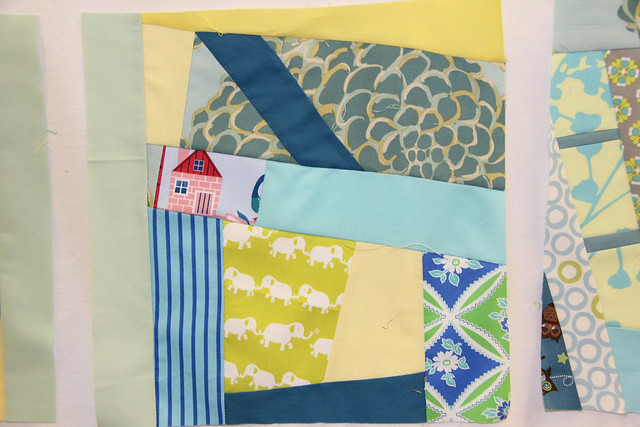
My fugly block.

Can I just tell you how much fun this was? All of us laughing, and swapping scraps - racing toward the finish line. And there were some amazing blocks that we created. I think mine was in the running for the ugliest block. But I followed the rules and only used the scraps I grabbed, regardless if they looked good together. I even had a little strip of selvedge in mine that I managed to incorporate into the block.

IMG_7512

IMG_7518

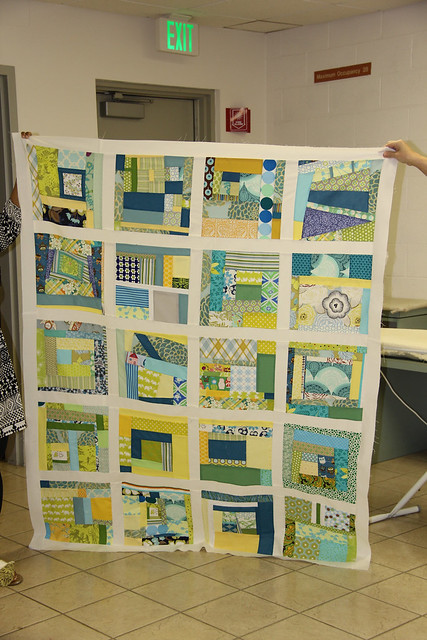
After a half hour passed we had 20 amazing blocks and a few of the ladies started sashing them in white. I have to admit that it turned out to be one gorgeous quilt in the end! Liberty pieced the top and a couple more blocks came in for the back. She's going to take it home and finish it for us so we can donate. We all had a blast with our speed blocks for charity. Liberty even took the rest of the scraps and started sorting them for our next weekend sew. We're hoping this becomes a regular feature. I can't wait to do this again!

Monday, January 30, 2012

Retreat Afterglow

I don't even know where to begin. Seriously, I just had the best weekend. And I wish you all could have been there to experience it. I will start by saying that if you haven't been to a quilt retreat yet - go. Really. Find one and jump into the fun. I joined the LAMQG's website soon after they started but I didn't actually make it to my first meeting until last year. It's been hard getting to know people from just attending the meetings. And I haven't been able to attend any weekend sews because if I'm not working on a Saturday then I'm spending time with my husband. So, I'll admit, it was a little nerve wracking walking into a room full of women you don't really know. I felt a little like a fish out of water. Well, let me tell you, that feeling had completely disappeared by dinner.

IMG_7474

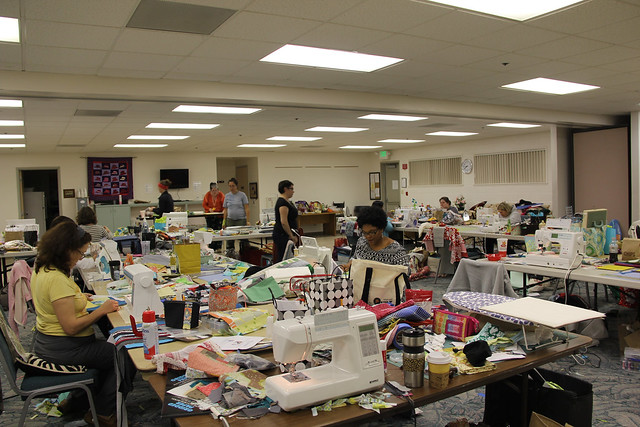
Words cannot even begin to describe the amazing time I had at the retreat. I was surrounded by so many talented, creative, funny, intelligent, generous and kind women. There was not one bad apple in the entire bunch. I am seriously in awe of the women in our guild. They welcomed me (and the other first timers) with open arms and after moments it felt as if I had known some of them my entire life.

IMG_7506

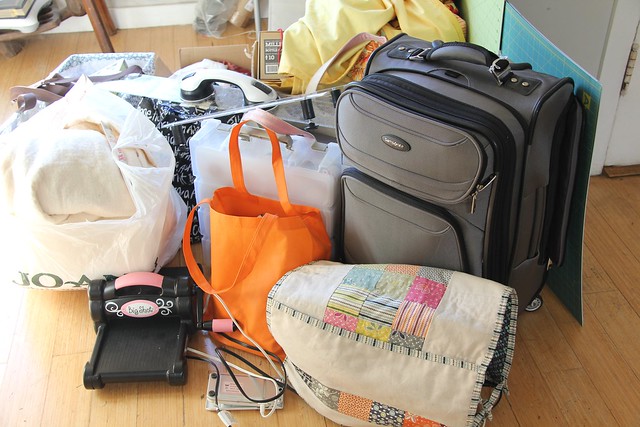
I arrived a little late on Thursday, after making a detour to the Purl Soho fulfillment center to pick up some fabric and then hitting some traffic along the way. But I hit the retreat center with enough time to see the sun start to set over the grapevines in Temecula. It's a stunning spot, really. And so peaceful. I checked into our classroom and found my way to my work station. We each got our own table so there was plenty of space to work. And Katie gave us each a personalized goodie bag filled with our favorite treats (Sugar Free Red Bull and Buffalo Bleu Potato chips for me). I was thrilled to discover that I wasn't the only one who overpacked. Everyone did!

IMG_7456

The entire weekend was spent sewing and chatting away into the wee hours of the night. Thursday I didn't really get any sewing done until after dinner. And, truth be told, I was feeling horrible on Thursday and I was freaking out because I thought I had the flu so I spent the evening cutting and piecing fabrics for a few blocks I needed to complete a quilt top and then I retired early. Early being 11PM, but I was one of the first people to call it a night. But not before I discovered my amazing pouch that my fabric fairy made me. It was filled with thread and she even had a bottle of wine chilling for me. Carrie, you're the best! I had Tess, and couldn't sneak her surprises into her until the morning because I got down there before she woke up. I gave her some fabrics, hand quilting thread and her favorite snacks.

IMG_7459

Friday morning I woke feeling fantastic. Thank god. Whatever had been plaguing me on Thursday had passed. I was able to finish up the blocks and start piecing the quilt top I was working on. It was just so wonderful to have all these other amazing quilters around. Everyone gave input on layout, or helped work through challenges that came up. The blocks in my first quilt weren't coming together quite right so Ramona had an awesome idea that helped me get out of my box and made that quilt top come together beautifully. Katie also organized a fabric steal and I ended up bringing home some of the Echino London prints! And Jamie and I ended up swapping quilts. She stippled mine, and I straight-lined hers. Her stippling is amazing and she is so quick. I wasn't as happy with my straight-lining, but she was so that's all that matters. Oh the pressure.

IMG_7472

On Saturday I had to pinch myself because it wasn't over yet. Latifah taught us how to make easy-peasy cowls. Lori taught me how to knit. And Liberty had me laughing until it hurt. We even had a small rivalry with the other sewing retreat across the way called "We Sew Crazy". Well, us bad girls of sewing (temporary tattoos and all) showed them who was boss!

IMG_7523

I came out of the weekend with new friendships, full of inspiration and even plans to buy another sewing machine. Ramona let me test drive her Bernina. Can I just say it sews like butter! I have it narrowed down to a Janome or Bernina. Now I just need to shop around. Oh, yeah. And I actually got some sewing done. Not as much as I had planned, but the weekend was so much more than that. I am so grateful on so many levels to have met the wonderful women I did this weekend. I am especially thankful for Katie who worked her little butt off organizing absolutely EVERYTHING. She even made our awesome gift bags and shopped for all the fabric for the exchange. Katie you're amazing! I encourage everyone to dive in and attend a retreat, you won't regret it. And I'm linking up to Sew Modern Monday at Canoe Ridge Creations to show off my retreat finishes.

Thursday, January 26, 2012

Off to My First Retreat

I am off to my very first quilting retreat and can I just say I am so excited. It's a little bittersweet because my first was supposed to be two weeks ago in Willamsburg, VA with my friend Natalie, but United canceled my flight and the ones they had rescheduled for me didn't work at all.


I'm about to load the car. I think I might be a little ambitious for 4 days of sewing. But better safe than sorry I say. I must admit that I'm a little nervous because I don't know anyone in my guild very well. I've been going to meeting for the last year so I have met people, but I haven't really gotten to know them very well because I haven't been able to attend a Saturday Sew. I'm jumping in the deep end in an effort to make more friends and bond with the people in my guild, but when I'm sewing next to the likes of Alissa (who taught me how to quilt) and Latifah it can be a little intimidating. Especially, since they all know each other well. Despite it all I am so freaking excited. Expect a full report next week!

Friday, January 20, 2012

Slow Sewing Going

Untitled

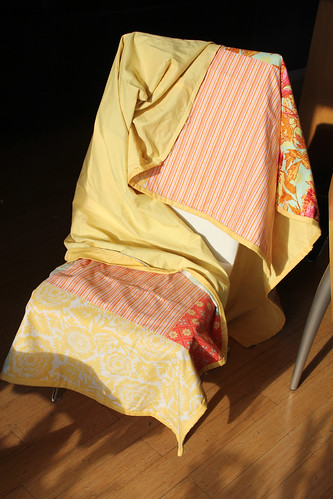
I am suffering from the same affliction that I've been hearing many others complain about lately... I just haven't had a lot of time to sew. I was supposed to be sewing my little heart out last weekend with one of my dear quilting friends, Natalie, unfortunately that trip was thwarted thanks to United Airlines. But, that is all going to change next week because I'm heading off for four days of unadulterated sewing bliss during the annual LAMQG retreat. (Yea!) Can I just tell you how excited I am?! I have been stealing moments here and there where possible to work on a couple small things, like finishing up a tablecloth I was commissioned to make for a friend...

Untitled

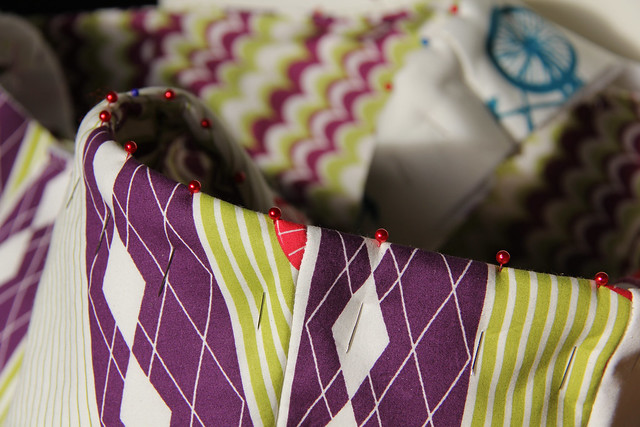
And I've been working on another diaper bag for my sister-in-law who is expecting in March...

IMG_7452

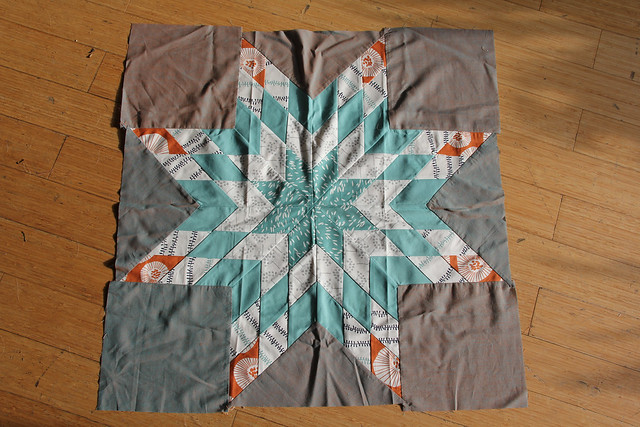
I even got the first block for my Echo Lone Star Quilt in the mail yesterday from the amazing Flaun. It's just getting me more and more excited about this quilt. I mean, I can't stop staring at it. And this thing is going to be a monster! I didn't have time to test the tutorial for this block before I sent out the materials to the rest of the Sewn Together Bee so I didn't know just how BIG these blocks were going to be. They're GINORMOUS! Seriously, 29" unfinished.

IMG_7445

I did learn a valuable lesson from this one... Test out the tutorial first. Not because the blocks turned out massive, but because there was a mistake in the tutorial. It calls for the backing squares to be cut to 9" but later in the tutorial it references 9 1/4" squares. I didn't realize the mistake until the fabrics were cut and mailed off but it was brought to my attention by a fellow member of the bee when she started cutting her HSTs. So you can see on Flaun's that the HSTs are a little shorter than the other squares. I am hoping I can hide this in the seam allowance when I am piecing the top together without losing the points on the star. If that doesn't work I might have to replace a few along the way, by no fault of their own, but I think it might work out okay.


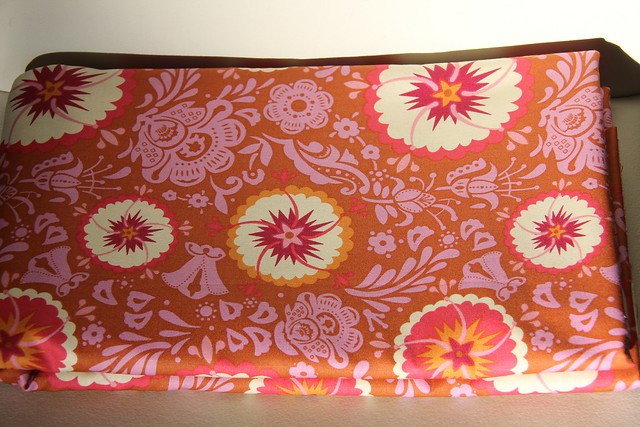
My To Do list for the retreat next weekend is about a mile long and includes several UFOs but I am most excited about diving into the project I'm making with that pretty fabric above. I can't tell you about that one now. I'm keeping that one under wraps at the moment. But it's pretty special. I'm also wrapping up this job very, very soon so I'll be sewing my little heart out a lot more in the near future.

Thursday, January 19, 2012

Little Stitches Week 11 - Pattern K - Modern Diaper Bag

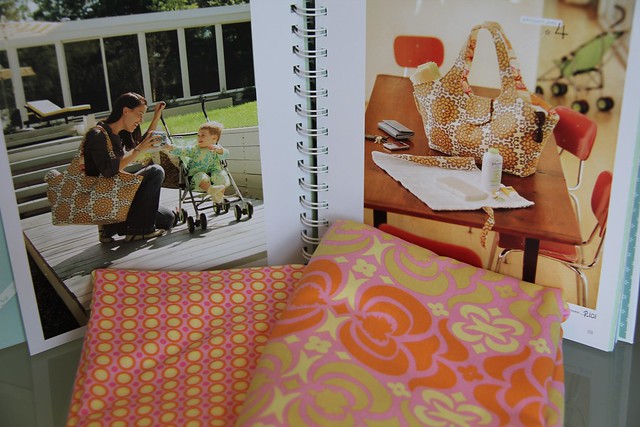
Welcome back for another week of the "Little Stitches" Sew-Along. You're going to see a lot of different fabrics this week because I've been working on making three of these puppies simultaneously.


Pattern K - Modern Diaper Bag - Difficulty Level: 4

Now, although I've been working on this bag thrice-over they're all still in various phases of construction. But one of them is finished and already living with it's new owner, Nina. You can read more about my friendship with Nina here because this isn't the first thing I made for her in this book. But I knew she really wanted a diaper bag, and I promised her one. Unfortunately it got to her just a little later than I planned.
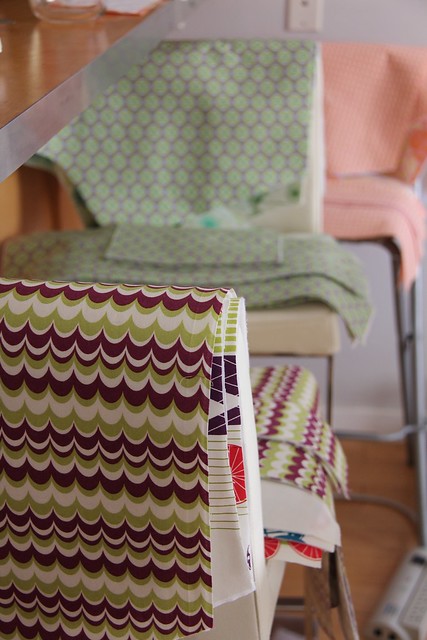

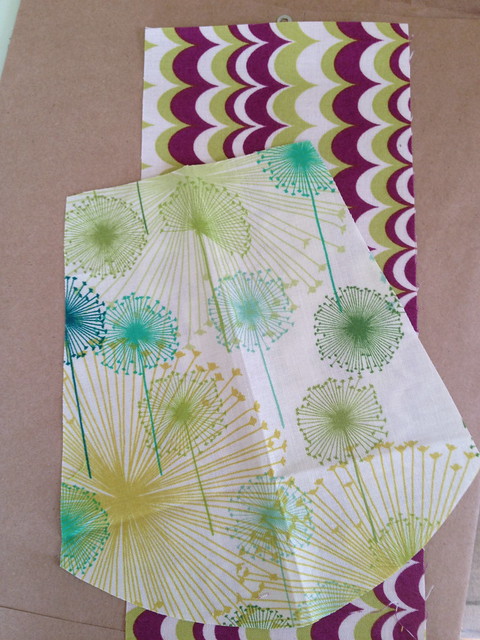
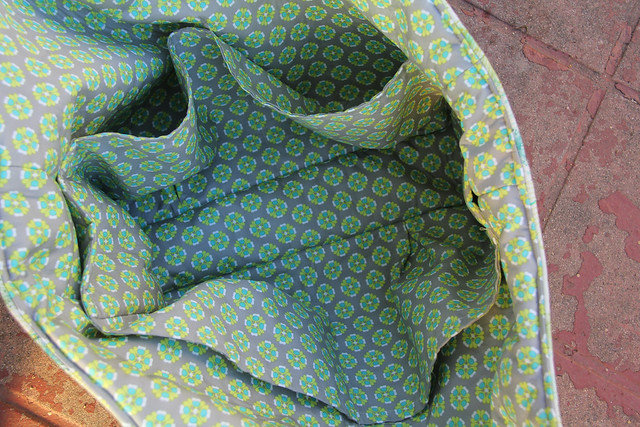
Since Nina is one of my closest friends, and coincidentally, we share a similar aesthetic I decided to cut into my coveted Wrenly to make something special just for her. I had intended to keep this Wrenly print in my stash to make something for myself, as it was becoming increasingly more difficult to find, but I knew she would love this print as much as I do so it called out to me for a special project like this one. When it came to the lining I initially chose a print from Pat Bravo's Modernology line. Then my stylist friend, Nancy, tried to convince me to use the Lizzy House Castle Peeps print that I had chosen for the same bag I was making for my sister-in-law. I agonized over the choice. And I almost went with Nancy's suggestion, but in the end I put things back the way they were because I thought it would better suit the recipients of each bag.
IMG_9033

IMG_9031

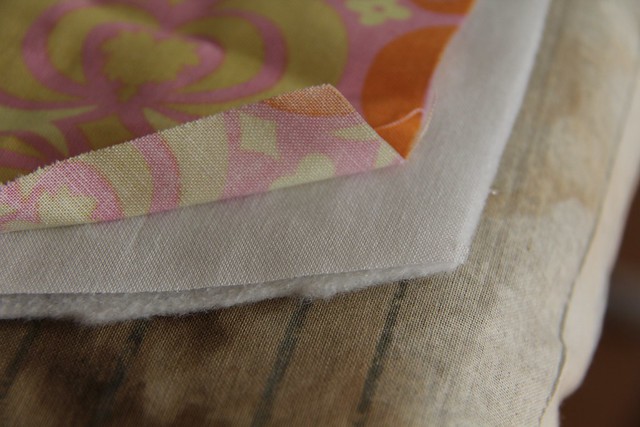
Cutting and attaching interfacing are the most tedious part of the process for me. It's a necessary evil, but I sometimes wish I could be independently wealthy and just pay someone to cut out pattern pieces from fabric for me. No, not a good waste of money (and I am joking) but seriously, it's the part I hate the most in sewing construction techniques. Because of my loathing I decided to get all the cutting done on this bag in one fell swoop. I planned to make three so I cut all three out at the same time.


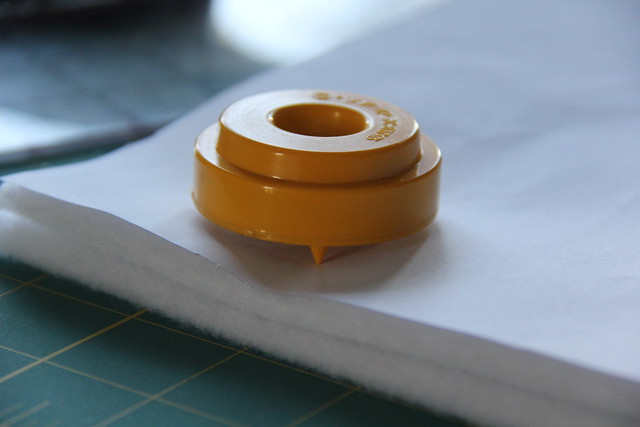
To save time I doubled (and sometimes triple depending on the thickness of the fabric/interfacing) up on the layers so I cut cut out pattern pieces in multiples. My little pattern weights came in handy for this and it helped cut down slightly on cutting time.

IMG_6808

As is often the case, there were a few instructions that read like Greek to me and made me second guess my own sewing knowledge at times. I mean, I've been making pleats and darts since I was a pre-teen but reading the instructions on how to make the box pleats in the pockets confused me at first. I had to take a step back, remind myself that I know how to do this, and just dive in and make a frickin' pleat. In the end simple is always better and don't doubt yourself.

IMG_6878

The second time I was making this bag (which is in the final stages but not yet complete) I encountered yet another problem while reading through the pleat directions again and I sewed the pleats on the bottle pockets too small and had to re-do them to get the pocket round to fit the lining properly.

IMG_6883

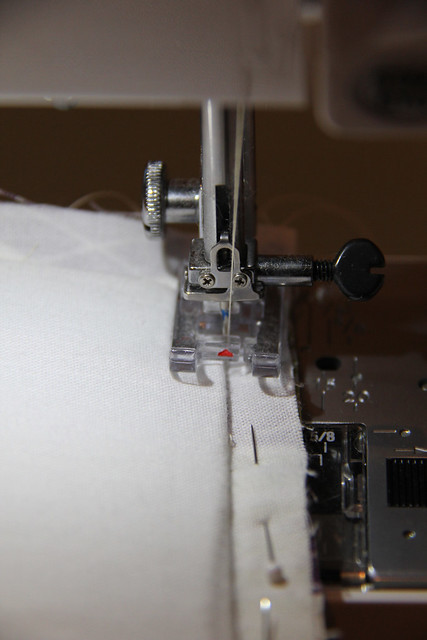
Once your pockets are in it's pretty much smooth sailing from there. Attaching the bottom panel might give some people a run for their money. Make sure you're matching up the centers of your panels as you work your way around and check your corners. Sometimes you have to go slightly over the 1/2" mark to make sure your corners seal up correctly. If this intimidates you go slowly and don'y be afraid. You'll get the hang of it. Attaching the bottom of the exterior should also be a little easier. If you place your fusible peltex correctly, you can simply follow the groove around.
IMG_7419

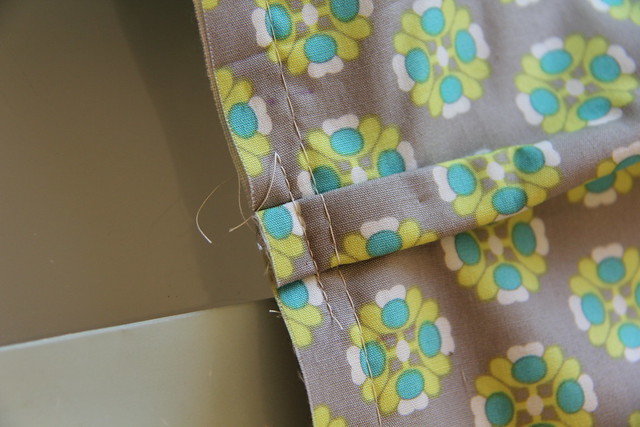
The darts in the cell pockets shouldn't be an issue, they're just a little thick so make sure to take it slow if your machine has problems handling bulk. And that goes for the topstitching as well when you're finishing the bag. Due to the fusible fleece, the seams can get a bit cumbersome, especially at the seam intersections. Take these slowly, but don't forgo the top stitching. It will definitely help to secure and reinforce the bag.

IMG_7385

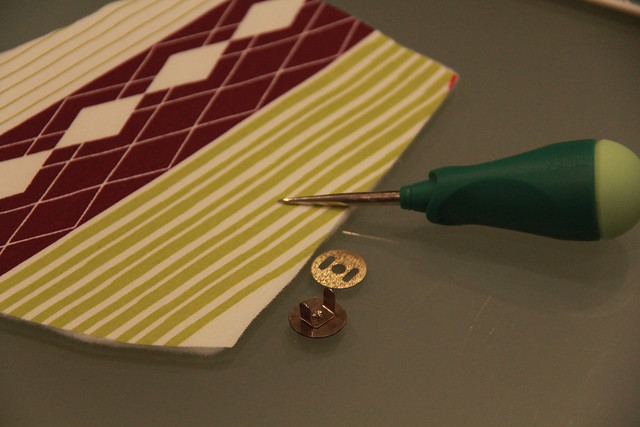
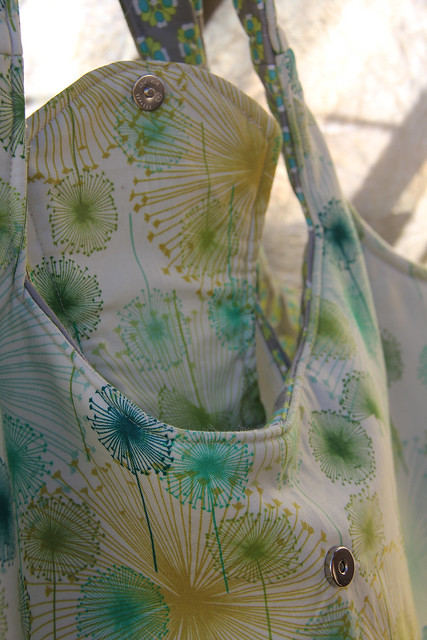
When it comes time to attach your magnetic clasp you're supposed to follow the directions on the fastener, which in most cases simply state to push through the fabric with the prongs on the clasp. I was able to accomplish this on the first one I made, with a bit of effort. You're pushing these prongs through several layers of fabric and interfacing, so it can be a little tough. A trick I used to make it easier on the next-go around was to use an awl to get the puncture started. Be careful how large you make the puncture in the fabric because you don't want it to fray or tear. I recommend just guiding the tip of the awl through and then letting the prongs do the rest of the work.

IMG_7414

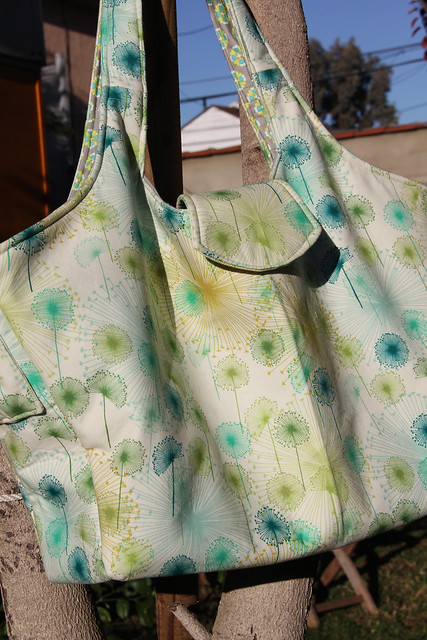
I didn't have as much trouble with this bag versus the Everything Bag. I also love this bag for it's stylish presentation. The Modern Diaper Bag is definitely a monster of a bag. I mean it's ginormous! I think Nina can fit her baby Roxana in there! You'll be seeing more of this bag as I finish up the other two.

IMG_7398

IMG_7388IMG_7386

I really hope Nina likes this bag and gets some good use out of it, even though it was delivered two months late.

IMG_7383

So what are you working on? Link up your latest projects here and show everyone what you're making. You can share your projects in any state from start to finish. I'll keep the linky party open all week. Remember, you can also show off your "Little Stitches" projects any time in the Undercover Crafter Sew-Along group on Flickr. See you next week!

Tuesday, January 17, 2012

Shameless Plug...

Excuse the shameless plug but a Brand New Episode of Tabatha Takes Over airs tonight on Bravo at 10 Pm Eastern / 9 PM Central.


Watch as Tabatha takes over a gay bar. Hilarity ensues. (And if you look really close you can see my name in the opening credits!)

Friday, January 13, 2012

Gearing Up For PTS7

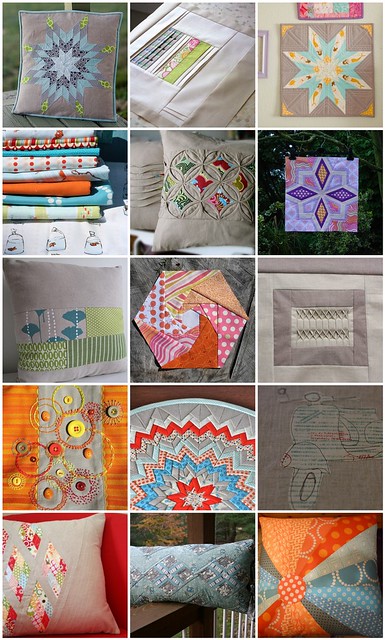
They're gearing up for a new round of the Pillow Talk Swap on Flickr. And although I am cutting back on the number of swaps I'm in this year PTS is definitely on my To-Do List. If you're interested in joining in the fun you should go and sign up to join the Flickr group so you don't miss the announcement for signups , which is coming very soon. This round they're asking us to have our mosaics ready so we can submit them with our intention to join in the swap. This is the mosaic I made this round...

PTS7 Mosaic

I also add notes to my mosaics in all the swaps I am in to help guide my secret partners and give them specific insight into why I picked the images I did. The more swaps I participate in the more I realize how the more information and guidance you can give to a partner really helps. Often you are paired up with partners who have different tastes and aesthetics than you do. That's part of the fun. It helps to get you out of your comfort zone. There is still time if you want to join in the fun. Hop on over to the Flickr Group to get started.

Thursday, January 12, 2012

Little Stitches Week 10 - Pattern F Cap

It's Week 10 of the "Little Stitches" Sew-Along. Don't get me started on the Comfy Jumper Dress. It's still unfinished and in my UFO pile. Not because it's particularly difficult, but because other projects have taken higher priority status over it. Sorry Comfy Jumper. I swear I'll be showcasing you soon! (Is it weird that I'm apologizing to an inanimate object?)
Pattern F - Cap - Difficulty Level: 3

I met Jeremy through my husband. They've been friends for years. Jeremy is part of Marc's pack of guy friends and I've always adored him since the day I met him. That adoration only grew when he started dating Megahn. They're both, now, part of our close inner circle of friends that I call the Venice Crew. We all live in the same neighborhood. We can walk, or bike to each other's homes and I am so lucky to have such a great group of friends who I know I'll have for the rest of my life. Jeremy and Megahn got married in 2010 and they welcomed their first child, Jude, into the world this December. My plan was (and still is) to make a larger gift for them. It's in the works and will be finished soon I hope, but I couldn't go empty-handed to Meaghn's baby shower.


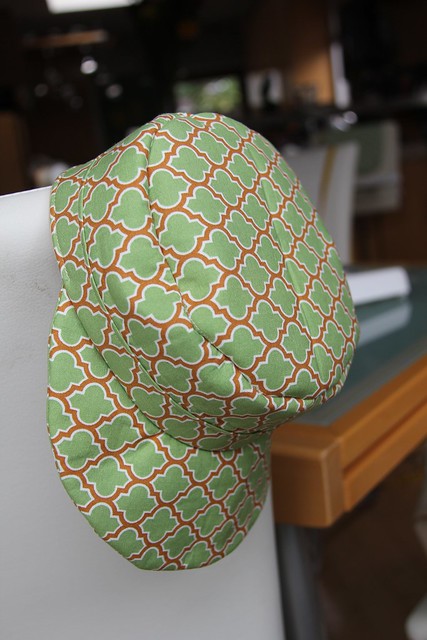
If you're a regular reader of my blog you know my sewing time has been limited lately. On the morning of the shower I was still gift-less so I woke up a little early to make her just a little something to tide her over until I could finish her real gift. And as they're one of the few people of the MANY (and the list keeps growing) people I know having babies that knew they were having a boy so I thought this little hat would be perfect, and quick.


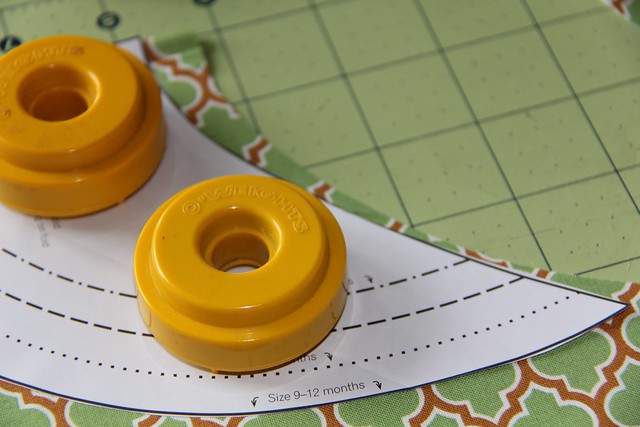
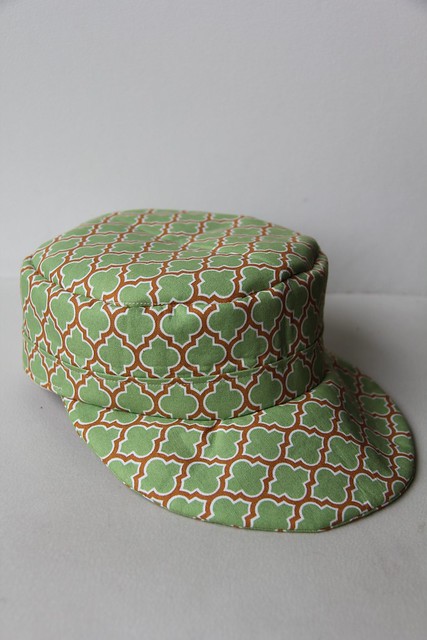
I cut into this green lattice fabric that I've had stashed forever. It's simple but a favorite of mine. The only problem is, when I was cutting it was early and I wasn't concentrating properly so I also cut the portions of the other hat listed in this pattern from this fabric as well, so some day you'll see this fabric again when I get around to making the butterfly hat.


When you're laying out your pattern pieces for the brim of the cap you can try to nestle the curve of the pattern piece into the curve of the fabric where you just cut. It doesn't fit exactly but you can get somewhat close to help save some of the fabric waste.


This one came together pretty well, but if you're nervous about curves this definitely has a lot of them. My advice is to take your time on the curves. Reinforcing your seams and snipping into the curves to help ease them around is key. Don't cut corners there. (No pun intended!) When you're snipping into your seams be careful that you don't cut in too close to the seam allowance, as these can fray over time if you don't give yourself proper distance from the tip of the snip and the actual seam. But it is a very important step. This helps to reduce bulk and make your curves easier and smoother. I recommend using a pair of small, sharp scissors whenever you clip into a seam allowance.


The only real problem I ran into when making the cap was that my lining ended up just slightly (less than a 1/4") bigger around the band area than the exterior of my cap. I could have easily solved this by stitching a slightly tighter seam into the band, but unfortunately for me I was rapidly running out of time so I fudged it.


The lining isn't as pretty and tailored as it should be but I was able to slightly gather the small overlap when I was stitching the lining to the exterior, which created a slight pucker in the lining. I justified this error because it's on the lining and will never bee seen when worn and I just plain didn't have time to fix it. Instead I affixed my label over the pucker to try to hide it as much as possible. Megahn was pleased with it, so in the end, that's all that matters. I can't wait until Jude is old enough to wear it because I think he's going to look incredibly dapper. It's just so cute and it's easy enough to make in a morning.


So what are you working on? Link up your latest projects here and show everyone what you're making. You can share your projects in any state from start to finish. I'll keep the linky party open all week. Remember you can also show off your "Little Stitches" projects anytime in the Undercover Crafter Sew-Along Group on Flickr.


See you next week when I'll show you my latest finish: Pattern K: The Modern Diaper Bag.