Two things... You want to see the product of all the blood, sweat and tears I've expressed over the past eight months? Well then set your DVRs to record because the brand new season of Tabatha Takes Over premieres tonight at 10 PM EST on Bravo! This season Tabatha doesn't only take over salons, she also takes over a variety of other businesses. I've been working on this show since the very first season and it's a labor of love. And if you look really close you can see my name in lights!


Enough about that. Are you ready to welcome back one of my regular features, because it's Triple "T" Tuesdays. I know it's been a while since I posted a Tip, Tool or Technique around here. I've been busy. I'm so sorry. And I think I'm just going to make this a monthly feature for now, because the pressure of trying to keep up while working an insane schedule was getting to me. So today I want to share a technique I use for fabric marking. My sewing box is loaded with a variety of fabric markers, from disappearing ink pens to chalk. My general go-to tool used to be the disappearing in pen. And I do still use it, but I have found myself, more often than not, resorting to a new way of marking my fabrics as of late.
The problem with disappearing ink (or water soluble) fabric pens is that the ink will set if exposed to intense heat, like an iron. I've been getting back to my roots and doing a lot more garment sewing and I was finding that I would be working at a speed where I would need / want to do some pressing on my projects before the ink would completely vanish. I tried using water to speed up the removal process, but even that wasn't working for me, so I started using straight pins as markers.
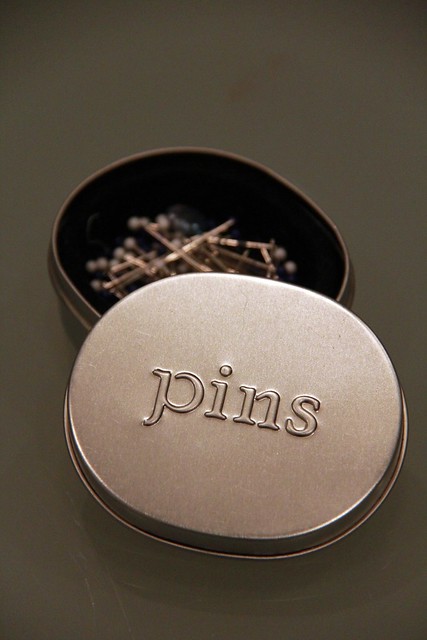
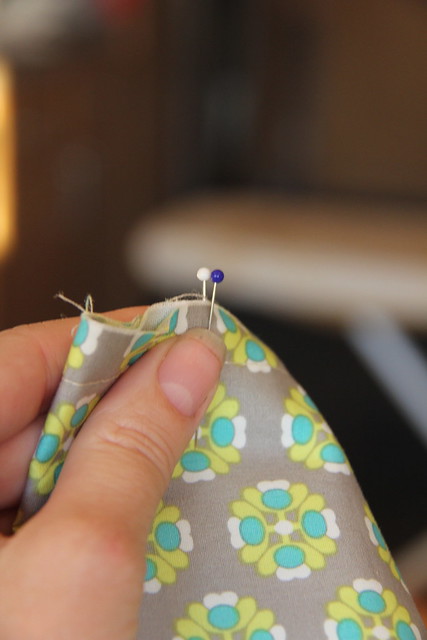
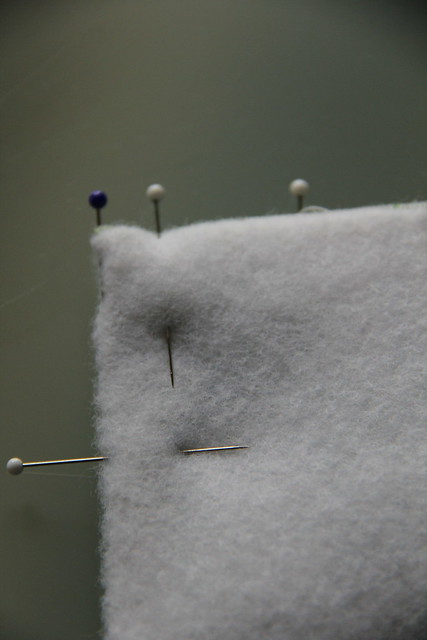
Straight pins are a great, cheap and easy way to mark your pattern pieces without leaving a trace behind on your fabric. Now, when I'm cutting out a pattern piece I use straight pins to "transfer" pattern markings rather than cutting into the seam allowance. It doesn't disrupt the integrity of the fabric and they don't disappear if I have to step away from a project longer than a ink marking might remain - although I do have to take care to make sure the pins are anchored deep enough so they don't fall out.
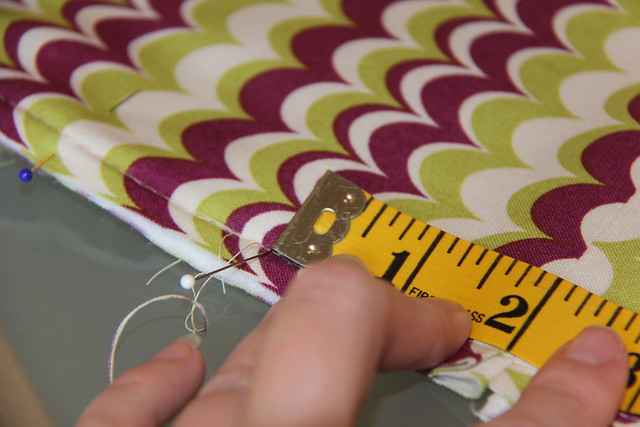
Also, when making pleats or darts it's so much easier to match up your lines using straight pins than ink marks on fabric. Recently when I was making a pleat I simply measured the required 2" from the seam and placed my straight pin in the fabric, flush with the edge of my measuring tape.
After I made my marks I used the head of the pins as my guide and matched them up, removing one of the pins and then sliding it through both layers of fabric to secure my pleat mark. Then walla! I was ready to stitch my pleat seam parallel to my straight pin marker.
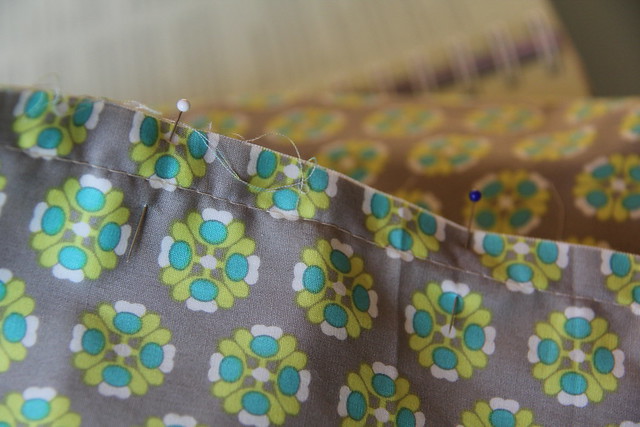
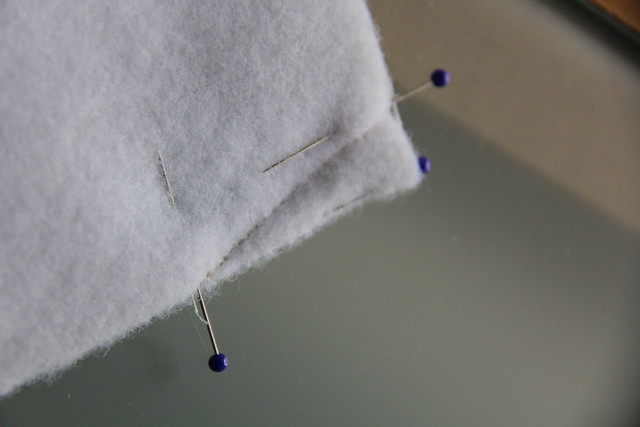
When making a dart I use a similar method. I mark the top edges of my dart with straight pins and bring them together, joining the marks. Then I measure down, as far as I want the dart to go down the edge of the fabric and use another bin to mark the point of the dart.
Start sewing in a diagonal between the two pins and there you go - a perfect dart without inking or chalking the fabric. Seriously, straight pins are my new favorite way to mark fabric. I think they're one of the most underrated, yet important tools in any sewing kit. How do you mark your fabric? What's your favorite method?
Hope this helps! Do you have a Tip, Tool or Technique that you'd like to share? Email me and I'll set you up to do a guest post on an upcoming Triple "T" Tuesday. See you next month!
Great photos to illustrate this technique! I have been doing this for years, but I thought it was the "ghetto" method because I was too cheap to buy tailor's chalk. Ha!
ReplyDeleteThat's a great tip! Why don't we use pins more often. So easily reusuable too. Thanks, Hollie =)
ReplyDelete