 |
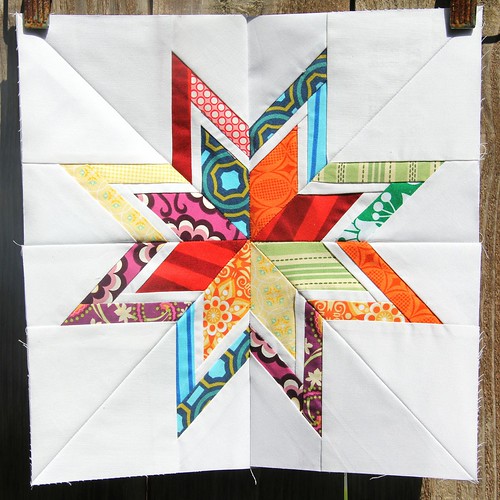
| Can you see my mistake? |
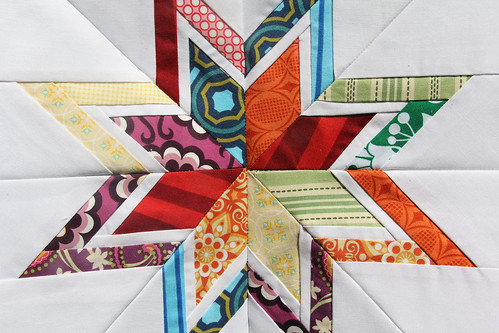 |
| How about now? I'll give you a clue - look in the center of the star. |
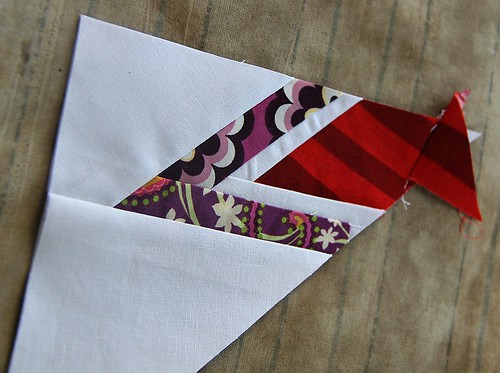
I reached into my scrap bin and pulled out a coordinating piece of fabric, trying to line up the design as much as possible, keeping in mind there would be a 1/4" seam as I lined up the pattern. I gently folded back the paper foundation and stitched a 1/4" seam, then ironed and trimmed. Yes, it resulted with a tiny seam in the center, but once stitched together with the rest of the pieces to make the entire block, it virtually disappeared.
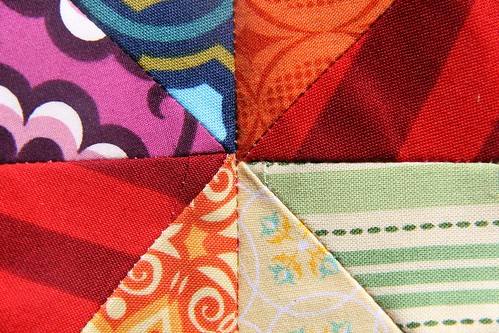
Well, I'll admit this happened on two pieces and the other one was only slightly more significant so the seam is a little more prevalent in the finished block BUT remember (and this is hard for the perfectionist in me) once you quilt it and wash it, I guarantee you it will disappear completely. Moral of the story: All is Never lost. Be creative and don't be afraid to try and fix your mistakes. And for those of you who get as frustrated over paper piecing as I sometimes do, here are a couple more tips I hope might help ease your anxiety...
Tip #1: Use large scraps, larger than you think you need. Yes, this creates more waste but it eventually outweighs the headache for me. Larger pieces are more forgiving, especially when you're piecing odd angles in the reverse.
Tip #2: Always check your points and second seams before moving onto the next piece. For instance, when I'm piecing these stars, the first seam runs shorter than the second, so I always make sure that there is enough fabric to cover the entirely of the second seam when I fold the fabric over the correct way, otherwise paper will end up peeking though my points and my seams will be so scant that the block could start to fall apart first time through the wash. I check when I'm laying the new piece in, and then I double check after I sew. It's much easier to rip the stitches and move the fabric piece immediately than later on in the process.
Tip #3: This might be unpopular with some, but I do a little back stitch when I get to the points in the middle of the block. This isn't so necessary on the side seams as those will be secures later when you piece the block together or into your quilt top. But in the middle of the block I find a little reinforcement helps. Yes, it does create a little bulk but if you're using paper for your foundation thicker than tissue (I use plain copier paper because that's what I have at my disposal right now) then it can be a little difficult to pull off once your done. That reinforcement at the internal ends of your seams does help strengthen those seams.
Boy, Hollie - I stared and stared at those first pictures and could not find the fix. It wasn't until you showed which fabric and an even closer shot that I could find the spot. Nice job!
ReplyDeleteI looked forever and couldn't find anything that looked like a mistake. Awesome tip!!!
ReplyDeleteGlad you were able to save it, fab idea!
ReplyDelete