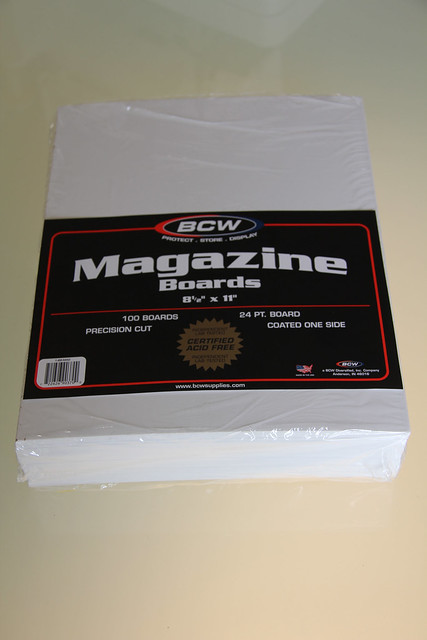
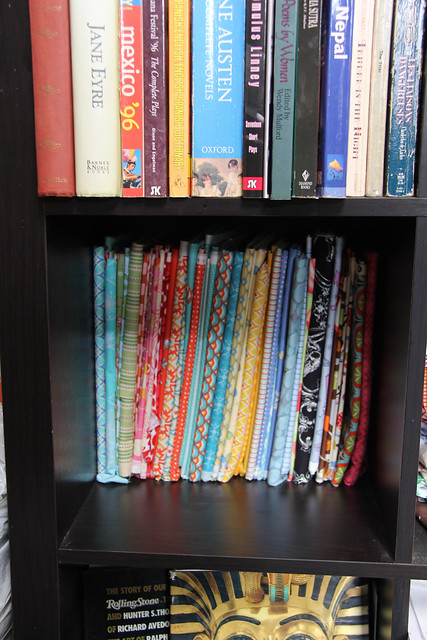
Yeah, those little puppies are the key to my organization. You can find these several places online or at your local comic book store. Yep, that's where I get mine. They're called different things by different people and come in different sizes. If you go directly into your local comic book store ask for "Comic Book Boards". Then make sure you buy the "Magazine" size. Magazine size is 8.5" x 11" which is the perfect size for organizing all of your 44" wide fabrics - because what's 44 divided by 4? Yep. 11! I might not be great with math but even I could figure that out!
So how do I do it? It's simple...
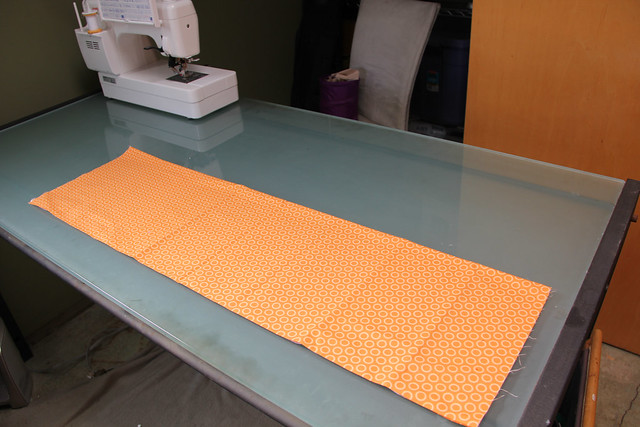
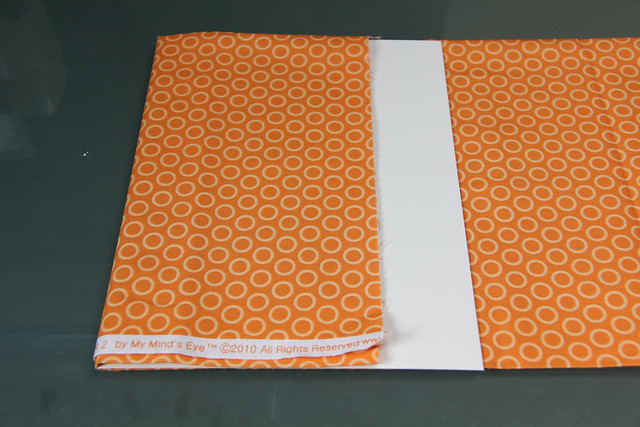
Step 1: Fold your fabric in half, selvedge to selvedge.

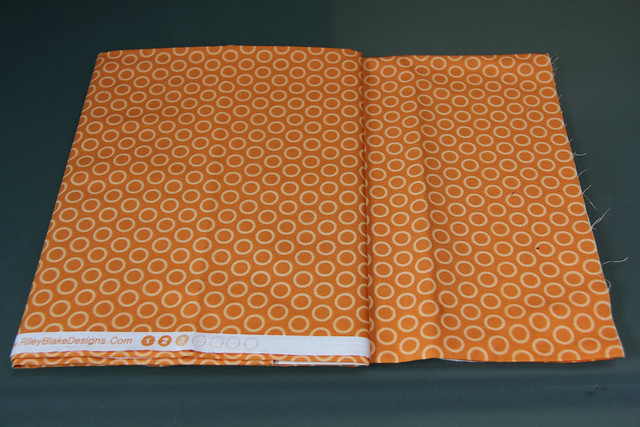
Step 2: Fold it in half once more. I like to make sure the selvedge edge with the fabric name is facing out so I can see it even after I fold everything up.

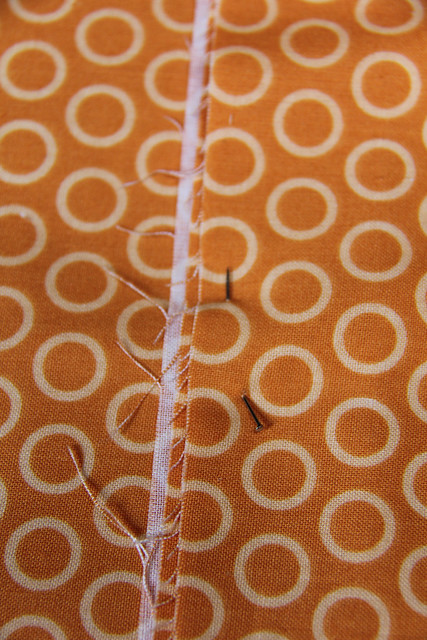
Step 3: Since I like having easy access to my printed selvedge edge, I flip my fabric so the printed selvedge edge is facing down, against my table (or whatever flat surface I'm using). Then place one of your magazine boards centered between the two folded edges and close to one of the raw edges of your fabric.
Step 4: Make sure the board is close enough to the raw edge so you can fold the fabric over without covering the entire board, but far enough away that you have a fold of fabric substantial enough at the other end so you can secure it down well. (See Step 6)
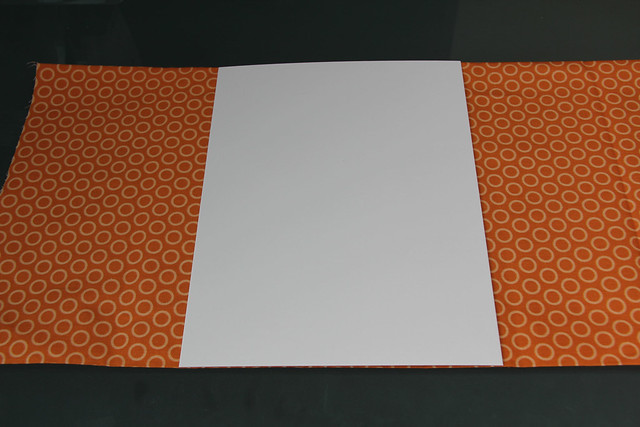
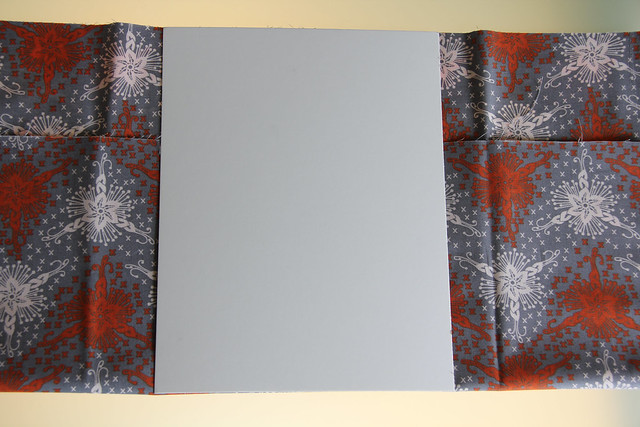
Step 5: Fold the board over several times until you reach the opposite raw edge.
Step 6: Make sure there is enough fabric when you reach the other raw edge to fold back over securely.

Step 7: Secure with a pin. Some people fold a triangle of fabric under first. I used to but, frankly, now I'm too lazy.
By The Way: This works even if you're not working with 44" wide fabric. Simply play with folding your fabric to approximately the right width and you're golden!
Easy Peasy! Hope this helps! Do you have a great Tip, Tool or Technique that you'd like to share? Email me and I'll set you up to do a guest post on an upcoming edition of Triple "T" Tuesdays.
I'm in on your support group for stashes, Hollie!
ReplyDeleteThat is, if there are tasty adult beverages...
ReplyDeleteGreat tip. I stack my fabric by color, but inevitably, I pull stuff out and don't put it back in the same place and have to reorganize it every few weeks. Switching over to magazine boards would be an endeavor, but probably worth it in the end!
ReplyDeleteI use these too! I can't remember where I first saw them either but it was a stash changer for sure. I have deep bucket drawers in my sewing room and this size and shape fits perfectly!
ReplyDeleteI like this. I have a little dresser for my fabrics but these boards it would make it easier to sort through and see all the fabrics without getting them all messy. Thanks for the tip Hollie!
ReplyDelete