Holy shit! Sorry if I offend, but seriously I am in total shock right now. I was sitting in a bar in Santiago, Chile, minding my own business. I politely asked if they had WiFi available. They did. So I checked my emails. And I think somebody, somewhere made a huge mistake because I had this waiting in my inbox...
Wednesday, March 28, 2012
Pinch Me, Please!
Monday, March 26, 2012
Sashiko in Chile
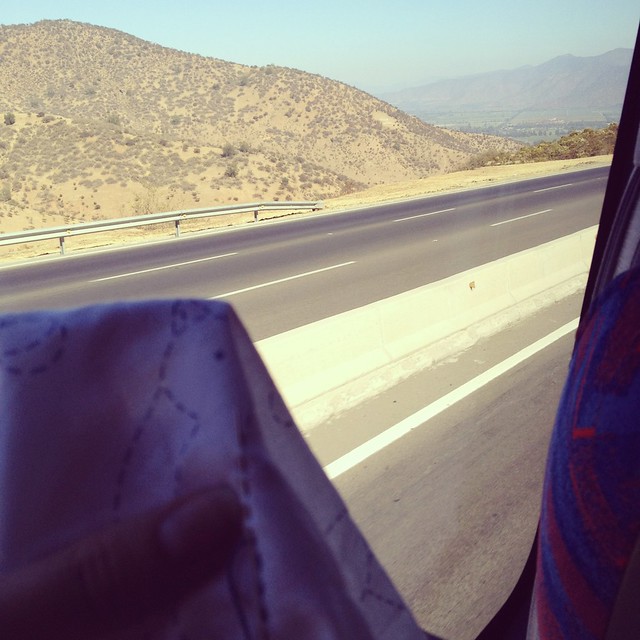
Yesterday, on the way to Valparaiso, a city on the Pacific here in Chile, I brought out my Sashiko to work on during the bus ride. I had started on the birds, because I wasn't still quite sure how I wanted to work my color scheme for the cathedral window-esque one. I worked on the birds and watched the vineyards of the Chilean wine country roll by. After a while, though, I realized that I didn't have all the colors I wanted to use for this design, so eventually I put it away and started planning out the other Sashiko. I think I know where I'm going with that one now. Despite being behind in my blog reading I'm at least getting some time to stitch.
Tuesday, March 20, 2012
Sashiko, Perhaps?
Greetings from Argentina! Unfortunately my 16.5 hour travel day turned into a 41+ hour travel day(s) thanks to a major flight cancellation. But I made it here. I know most of you visit me here to talk about crafts and quilts so I'm not going to bore you with travel details, but for those of you who are interested in following my journey you can pop on over to my new travel blog In Search of the Elusive Rare Parrot and I'll promise to keep this one primarily about my crafty life.
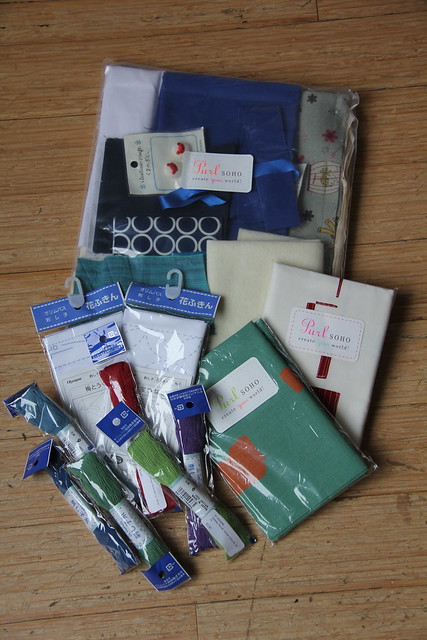
I did mention that on my last trip to New York I was able to make a pit stop at Purl Soho and I managed to be relatively good while I was there. I did consider buying some yardage while I was there but I ended up putting the bolts back on the shelf and convinced myself that since I was about to fly to South America for three weeks it would be totally insane to spend money on fabrics with no purpose. That's not to say I didn't buy anything.
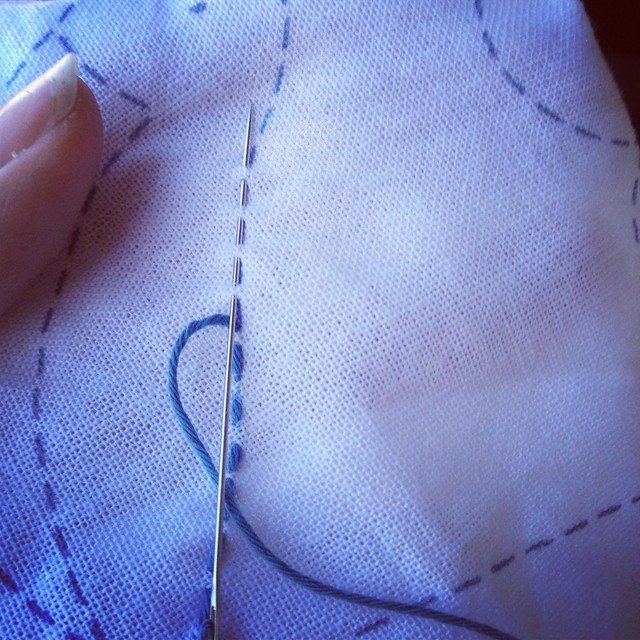
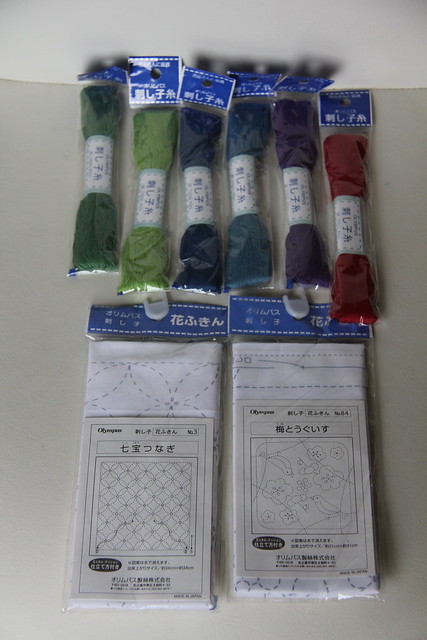
I had been considering what type of hand stitching project I wanted to take with me on the trip. Traveling alone for three weeks I knew that I would be jonesing for some kind of sewing while on the road. I was leaning toward English paper piecing but then at Purl I ran across their Sashiko kits. I have always loved the look of Sashiko and I have always wanted to try the technique so I thought this trip might be the perfect opportunity. Purl has several patterns to choose from and has a range of traditional Sashiko threads for sale as well. I ended up with two kits to take on the road with me and a variety of colorful threads. This project wil be entirely portable, since it's compact and light. The only thing I forgot to purchase at Purl was a Sashiko needle. I looked for one during my one day home, but ran out of time so I opted to pick up a pack of quilters basting needles as a substitute. When I researched the technique I discovered that traditional Sashiko needles are longer than regular needles and the eye of the needle is close to the same size as the shaft. Hopefully these are a viable alternative.
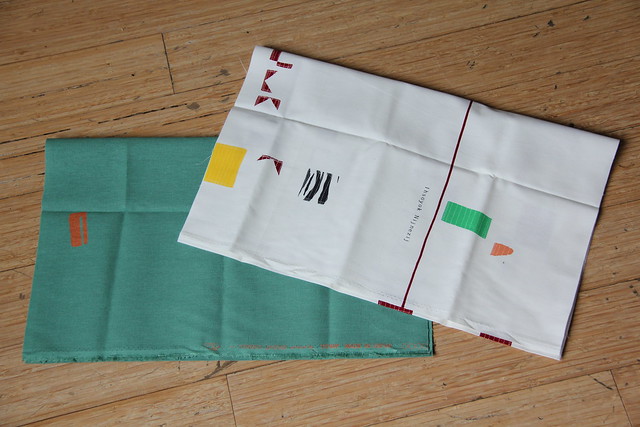
And I know I said I walked out of there without any yardage... but I did break down and buy a few remnants. I was able to justify these fabrics because they were end of the bolt and slightly discounted.
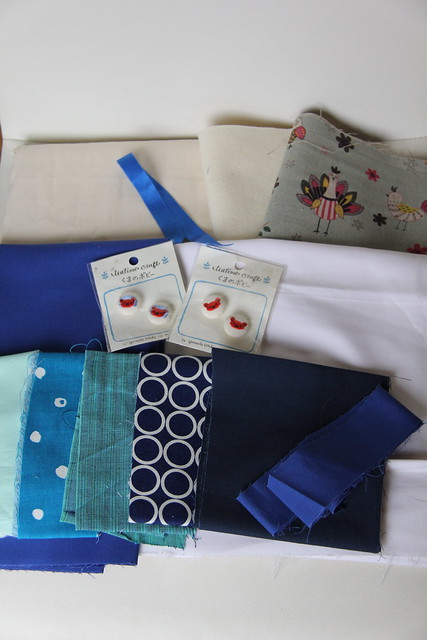
I also bought one of their scrap bags because I was intrigued by the bird linen scrap. Sue me. Hopefully I'll find some intriguing crafty stuff to report about while I'm on the road. Until then, Adios y Buenos Noches!
Thursday, March 15, 2012
Another Great Swap
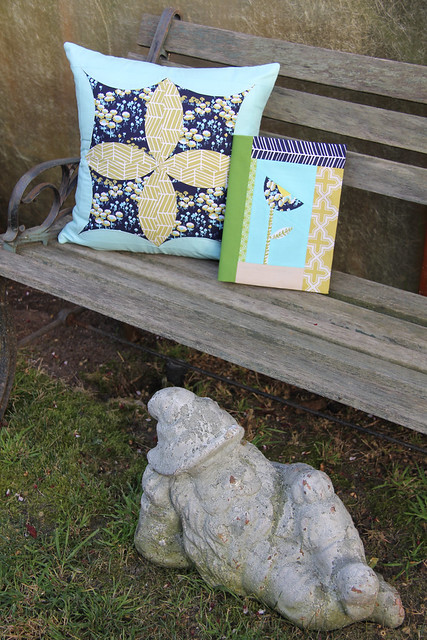
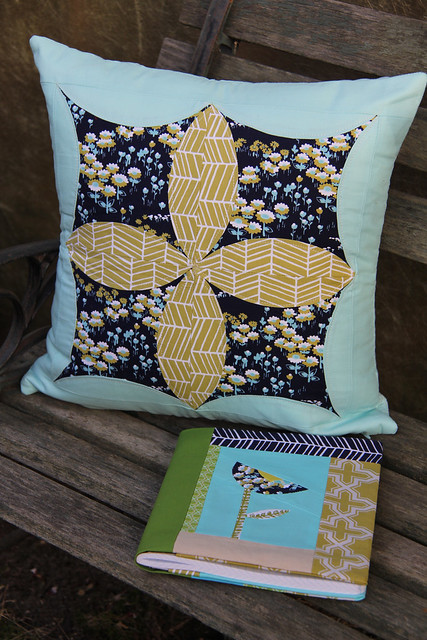
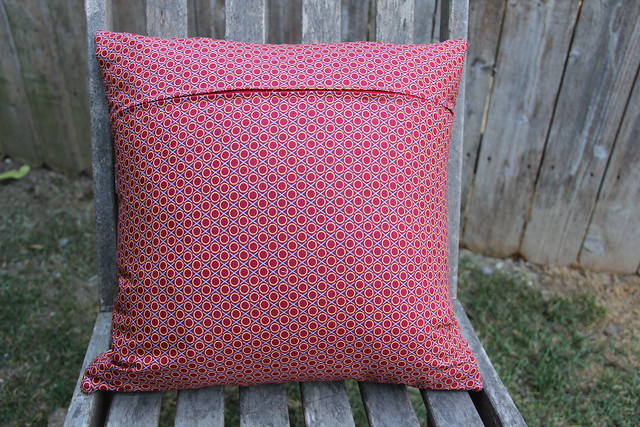
Oh my God! I can't believe it's mine. She totally "got" me. The colors and fabrics are absolutely perfect for me. Seriously, they're some of my favorites. Plus, I love curves and she nailed them, didn't she? And just wait until you see the back!
I freaked when I saw her post this in the Flickr group and then it came home to me. I adore texture. I mention my love of texture to every swap partner and this is the first time a secret partner has delivered. And she delivered in a big, bad way. And did you notice that adorable journal she made for me as well? Seriously this was an awesome round. Thank you, thank you, thank you!!!!
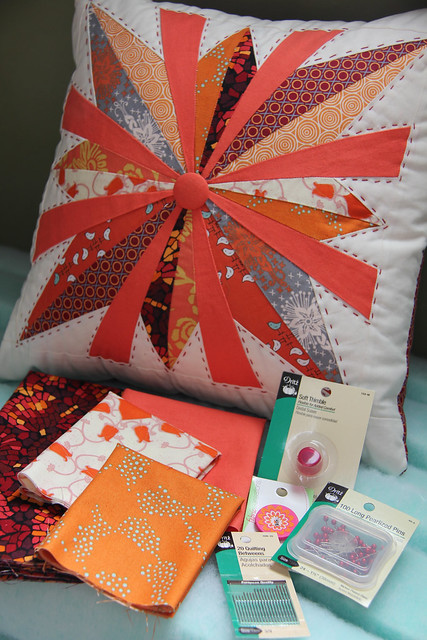
And since this is a swap, of course I made something too. Here's the package I made for my secret partner...
My partner didn't give me a lot of direction and she was relatively silent this round so I was a little stumped at first but after stalking her favorites I settled on a design fairly quickly. It was the color scheme I was concerned about.
Finally, I just had to bite the bullet, jump in and hope that I was making something that would make my partner squeal. I started out using this tutorial, but I augmented the paper pattern so the points matched in the middle.
I decided that this one needed hand stitching. I didn't think machine quilting would do it justice.
In the end I opted for simplicity in the stitching and a button in coordinating Essex Linen to tie everything together.
The back has a simple zipper enclosure to give the pillow a tight fit around the pillow form.
And, as usual, I added some extras in the package, including fabric, as an added bonus for my partner.
I sent this off to my partner last week, and it should arrive on her doorstep any moment now, if it hasn't already. I truly hope she's as delighted with it as I am with my package.
Labels:
2012 Finished Projects,
Crafty Things,
Home Dec,
Pillow,
Quilt Blocks,
Swaps
Thursday, March 8, 2012
Greetings From Seattle
Things are going to get quiet around here for the next month. Today I started a month of traveling. This morning I hopped on a plane headed to Seattle. I'm here for another board meeting. I spent most of the day wandering downtown, stopping in to my favorite spice and tea market on the planet. I tried to duck into a LQS, appropriately named Undercover Quilts, unfortunately it had a more traditional bent so I didn't go in. After my last meeting on Saturday I'll take the Red Eye to New York to meet my new nephew and see some friends, then I'm back home for a day to re-pack my bags before jaunting down to South America for three weeks. I am so excited I could scream. I'm doing this trip on my own. Sadly, the husband has to work. He's going to try to meet me in Buenos Aires for a week at the end of my trip if he can, but it's up in the air right now. So, expect an occasional post from me here and there, but I can't promise anything consistent (or craft related).
And of course that massive To Do List I was trying to complete before I took off remains unfinished.
1) MQG Showcase Quilt - DONE
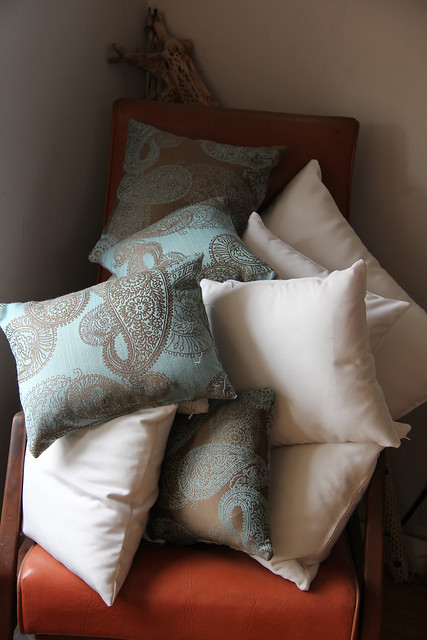
2) Andrew's foot stool and coordinating pillows - HALF DONE (I did make 12 pillows of various sizes for him.)
3) Changing Tables - HALF DONE
4) Pay It Forward - DONE
5) Pillow Talk Swap 7 - DONE
6) Diaper Bag - UNFINISHED
7) Bee Blocks - UNFINISHED
So, now that I look at it, I made a respectable dent in it. The diaper bag and the changing tables can wait until I get back. It's not ideal, but it's fine. But I really, really want to try and get those bee blocks done before I leave the country. I have one day back at home and I'm going to try and squeeze the most egregious ones in between unpacking and repacking. I'll keep you apprised of my travels and I'll see you all when I get back!
Tuesday, March 6, 2012
Triple 'T' Tuesdays: Fabric Organization
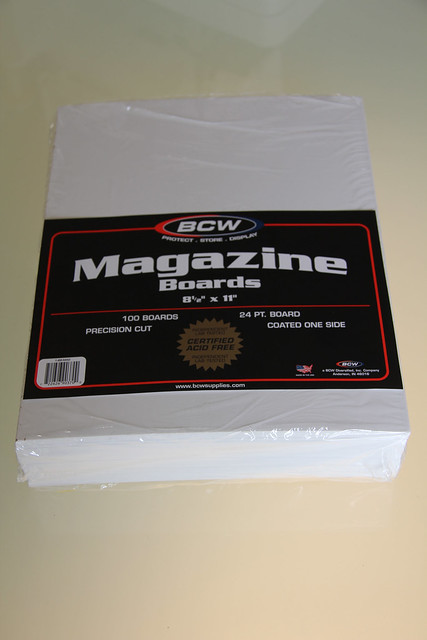
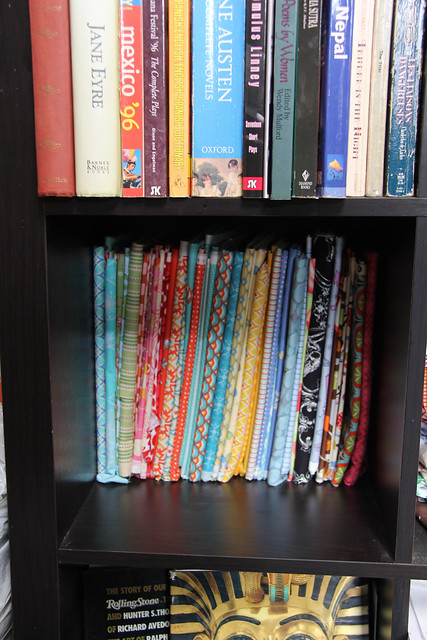
Welcome back to another Triple "T" Tuesday. If you stash looks anything like mine (I'll be starting a support group for that later!) then organization is key. Now, I can't take credit for the way I organize my fabrics. I've seen this technique used in more than one place, unfortunately I can't remember the first place I saw it.I wish I could so I could give credit where it was due, but it was probably two years ago the first time I saw this. Then I tried it myself, fell in love and I've been organizing my stash like this ever since. Have you heard about magazine boards?
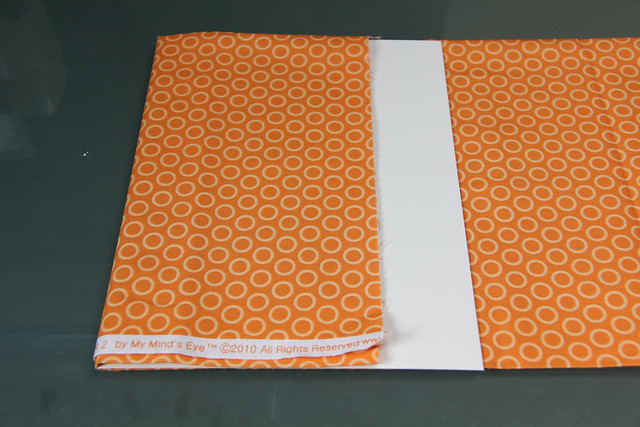
Step 3: Since I like having easy access to my printed selvedge edge, I flip my fabric so the printed selvedge edge is facing down, against my table (or whatever flat surface I'm using). Then place one of your magazine boards centered between the two folded edges and close to one of the raw edges of your fabric.
Yeah, those little puppies are the key to my organization. You can find these several places online or at your local comic book store. Yep, that's where I get mine. They're called different things by different people and come in different sizes. If you go directly into your local comic book store ask for "Comic Book Boards". Then make sure you buy the "Magazine" size. Magazine size is 8.5" x 11" which is the perfect size for organizing all of your 44" wide fabrics - because what's 44 divided by 4? Yep. 11! I might not be great with math but even I could figure that out!
So how do I do it? It's simple...
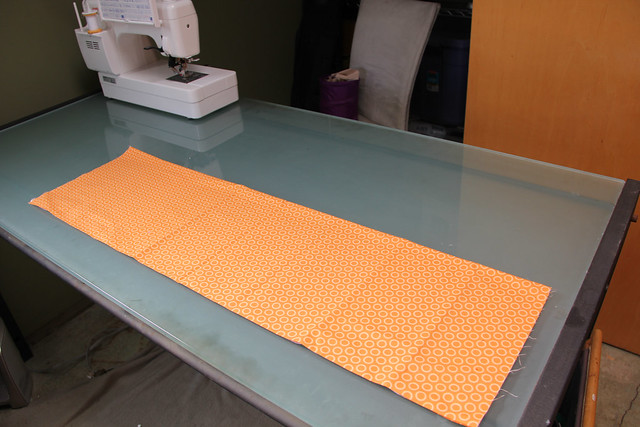
Step 1: Fold your fabric in half, selvedge to selvedge.
Step 2: Fold it in half once more. I like to make sure the selvedge edge with the fabric name is facing out so I can see it even after I fold everything up.
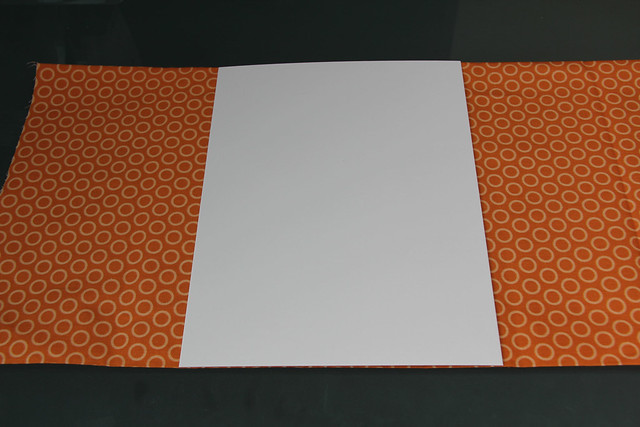
Step 3: Since I like having easy access to my printed selvedge edge, I flip my fabric so the printed selvedge edge is facing down, against my table (or whatever flat surface I'm using). Then place one of your magazine boards centered between the two folded edges and close to one of the raw edges of your fabric.
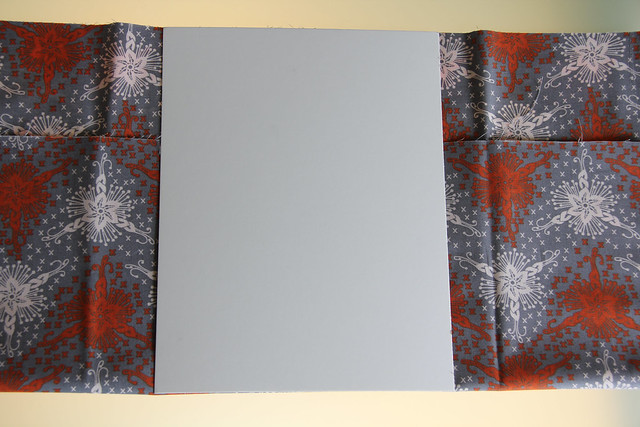
Step 4: Make sure the board is close enough to the raw edge so you can fold the fabric over without covering the entire board, but far enough away that you have a fold of fabric substantial enough at the other end so you can secure it down well. (See Step 6)
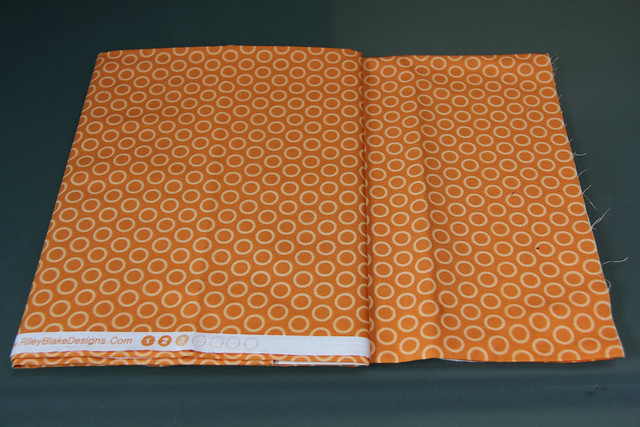
Step 5: Fold the board over several times until you reach the opposite raw edge.
Step 6: Make sure there is enough fabric when you reach the other raw edge to fold back over securely.
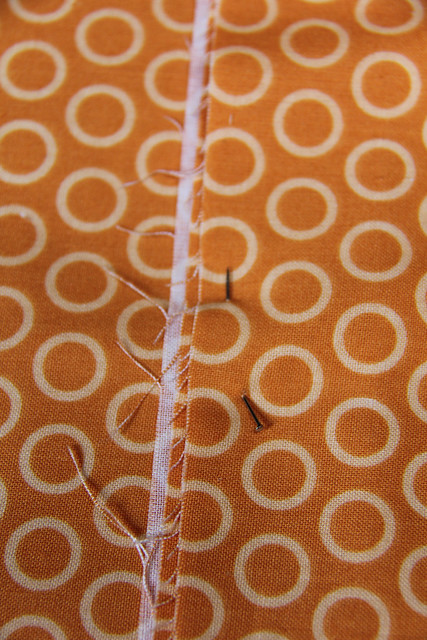
Step 7: Secure with a pin. Some people fold a triangle of fabric under first. I used to but, frankly, now I'm too lazy.
By The Way: This works even if you're not working with 44" wide fabric. Simply play with folding your fabric to approximately the right width and you're golden!
Easy Peasy! Hope this helps! Do you have a great Tip, Tool or Technique that you'd like to share? Email me and I'll set you up to do a guest post on an upcoming edition of Triple "T" Tuesdays.
Monday, March 5, 2012
MQG Entry
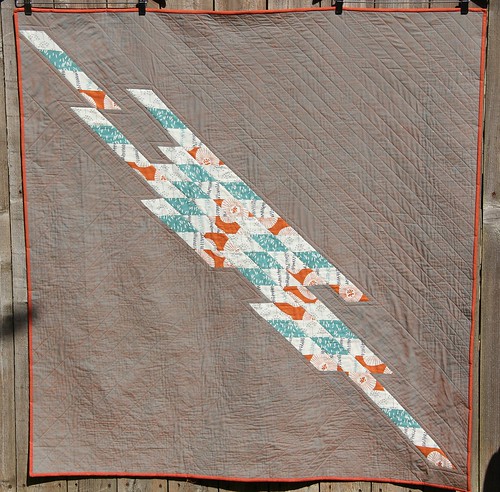
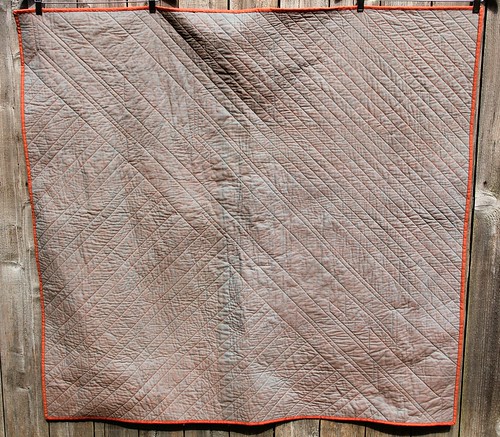
I admitted my ennui and then I went radio silent, but it was for a good reason. I thought that the best way to get through it was to throw myself into a project, and that I did. I was up against a deadline and I barely had time to come up for air. But I finished the quilt I've been playing around with lately.
I'm calling it "Redirected" and it's officially my entry into the Modern Quilt Guild Showcase. Although, I'm seeing so many great quilts that people submitted I'm thinking it's a long shot that I'll get accepted. I started designing this quilt in my head as I was winding down at work. I've been thinking a lot lately about my line of work and the level of stress in my life due to my job. It's often unnecessary. I've also been considering if it isn't time to take a new direction in my life. I don't have the answers, but it's been on my mind a lot, especially as I've been working on this quilt.
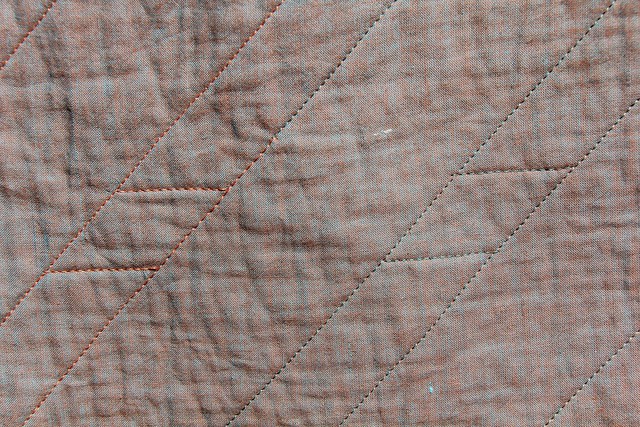
I wanted to play with the 45 degree angles in the diamonds as well as the use of negative space. The Kaffee Fasset shot cotton also has an iridescence to it and I wanted to play with that texture and color change so I actually played with the direction of the fabric in this one so the quilt changes colors at different angles and in different lighting. Straight-line quilting was the only thing that made sense to me for this quilt. I wanted sharp, clean lines. I also wanted to play with sharp angles and direction changes.
When it came to thread, though, I was at a loss. I initially thought I was going to use orange thread, no question. But when I started thread shopping I started to doubt myself. Maybe the orange would be too bold and overpowering because as this came together I liked how the negative space was becoming the showcase of this piece. I picked up some teal thread as well, still confused about what thread to use.
I got a couple, brilliant suggestions about maybe using both. So I did. I used a combination of the teal and the orange thread, to create an ombre effect, often changing thread color in the middle of lines (which meant a LOT of tails to hide later - see all those loose threads?) I also "hid" diamond stitches throughout - those little gems you sometimes find when you take a leap and make an unplanned change in life. I am debating adding a few more.
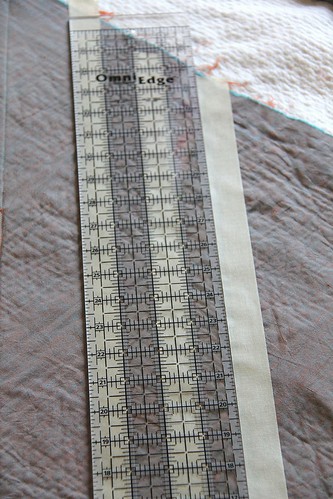
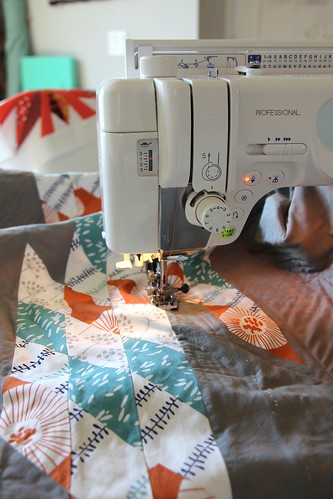
I was meticulous about my straight lines and used masking tape to ensure they were perfectly straight. This was also the first quilt I've ever quilted on my new Janome and I AM IN LOVE!!!!! It's life changing.
The key to this piece was simplicity so I ended up using the same shot cotton for the back and then a saffron shot cotton for the binding. It's a small, lap quilt, only measuring 50" x 48" with 100% cotton Warm and Natural batting. But it's done. Well, there are a couple stray pieces of tape I still need to pick off but it's there. But it's done. And I'm with pleasure sewing again. Now I just need to wait and see what happens with it. Did you enter anything?
Labels:
2012 Finished Projects,
LAMQG,
Quilts,
Sewing Machine
Subscribe to:
Posts (Atom)